I love my Inktense pencils, and I love to doodle. Not much more I could ask for!

Smiles,
Andrea
I love my Inktense pencils, and I love to doodle. Not much more I could ask for!
Smiles,
Andrea
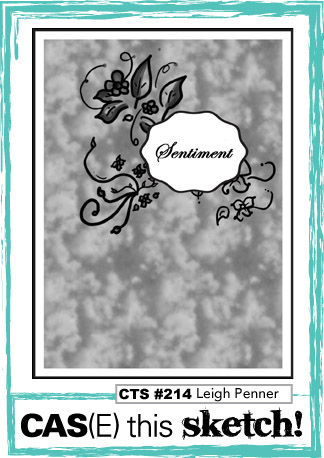
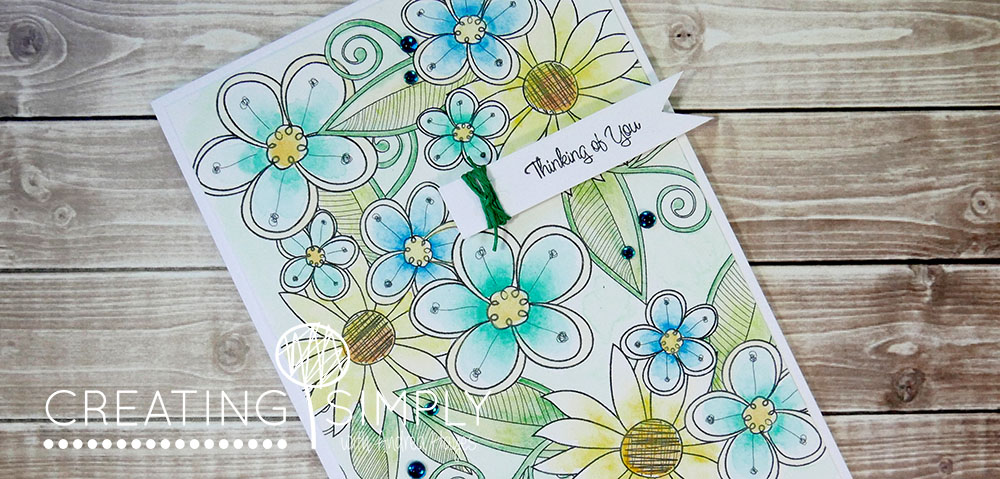
Hi and thanks for stopping by today! Remember this card I made a little while ago, well it made it as a favourite on CAS(E) this Sketch! I was blown away, and so very excited to be asked by Chrissy to be a guest this week for a brand new sketch!! So here is the sketch and my take on it.
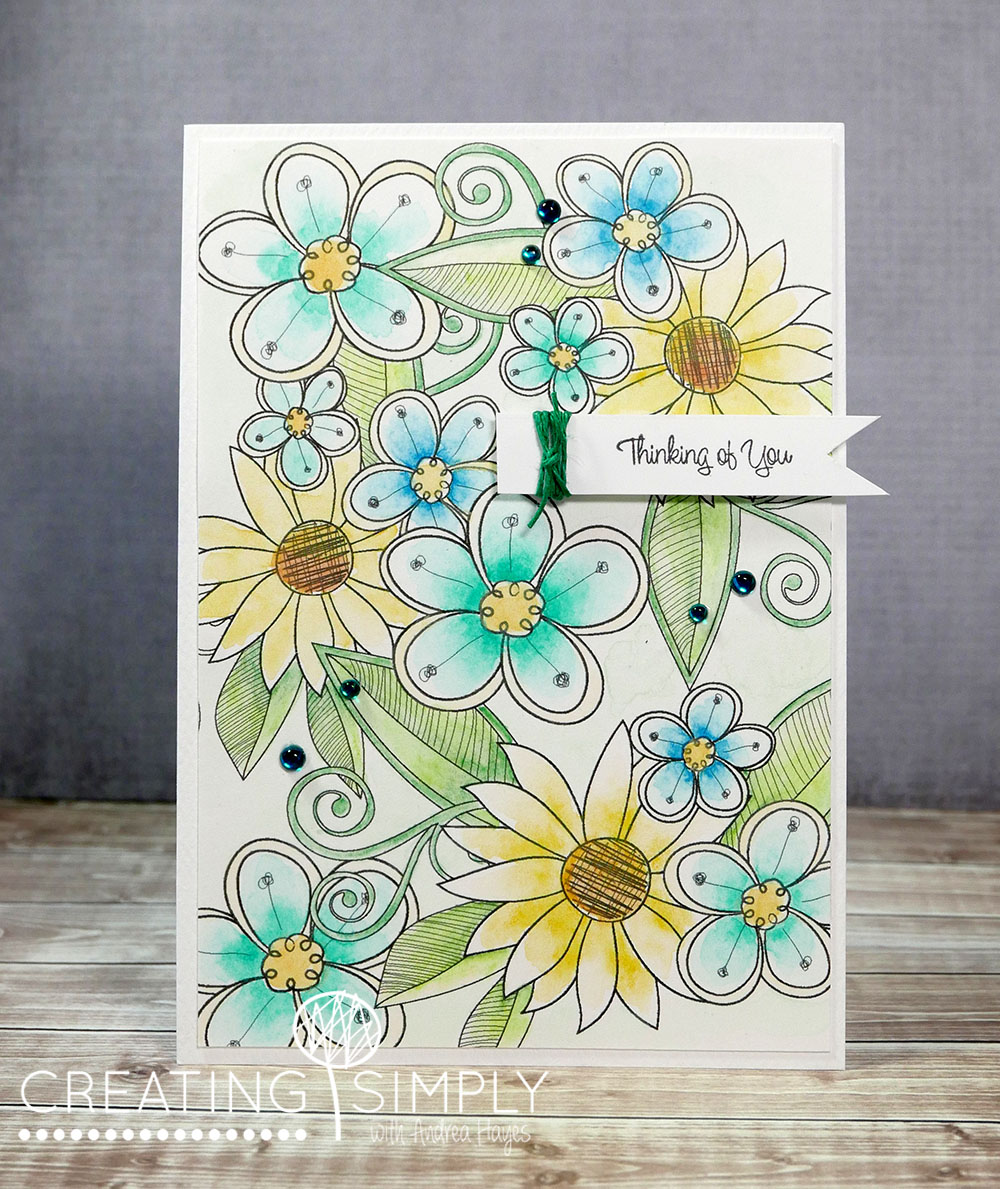
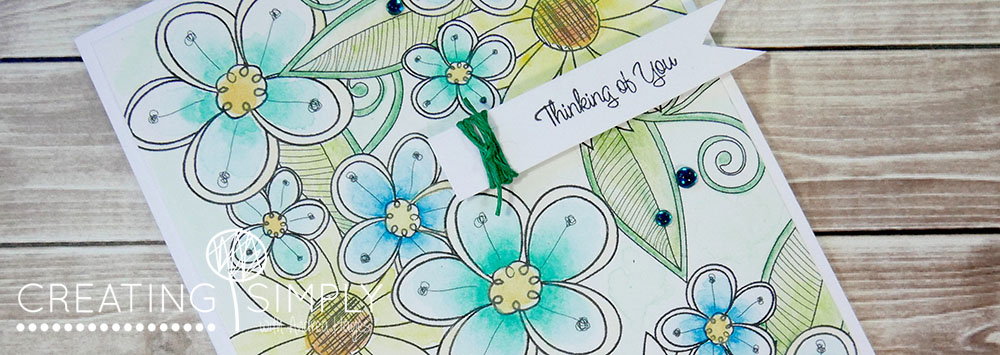
I decided to use a new digi image I’ve created and twisted and turned it to fill the front of my card, then coloured it using Derwent Watercolour pencils. This time I didn’t use my Inktense, which was really hard to do, but then I felt these lovely pencils had long been neglected and so therefore were chosen…(lucky them).
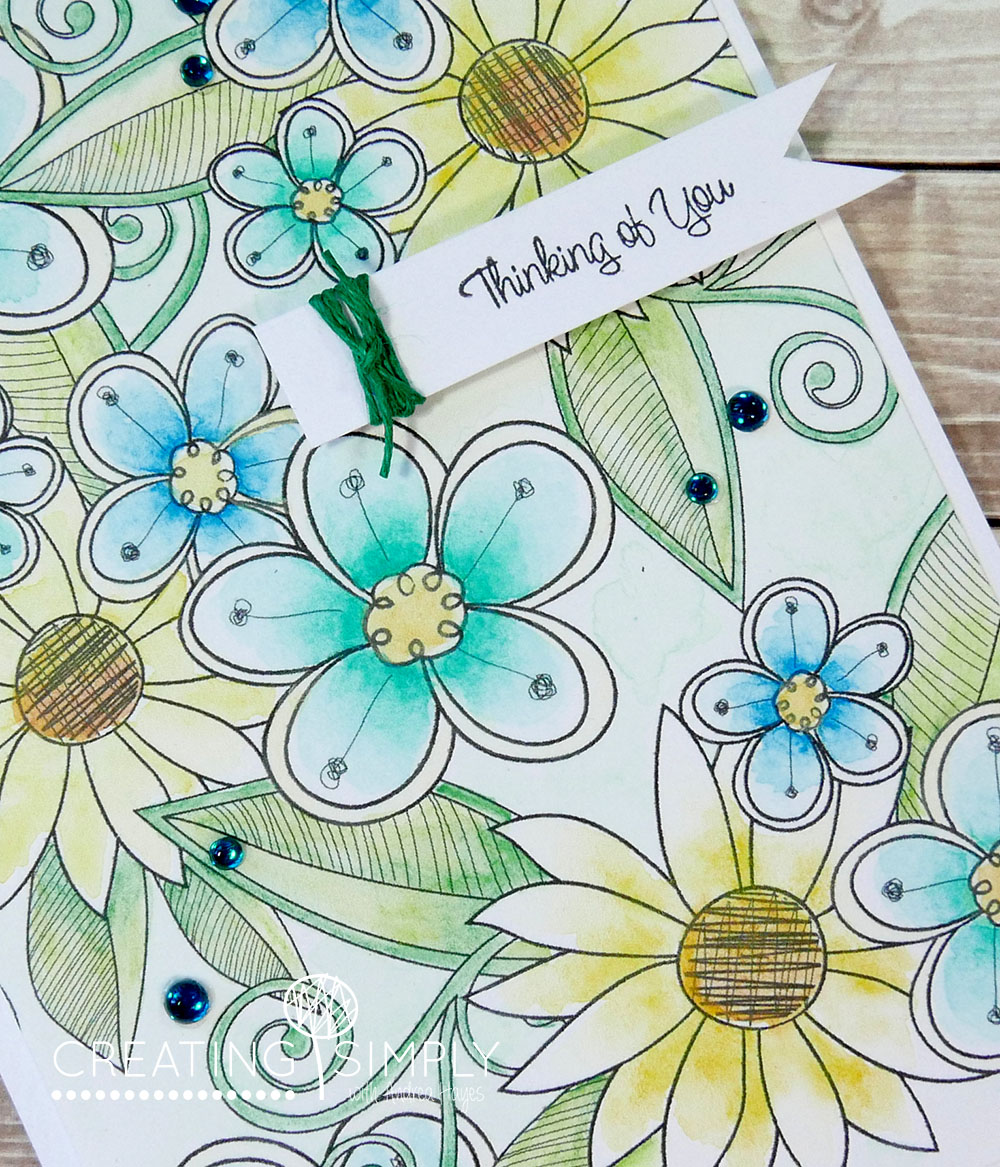
I wanted to keep it fairly subtle , and I have to say (after taking numerous photos) this card is far prettier in the flesh….I simply couldn’t capture it with my limited photography skills. I added Lagoon Sprinkles as an afterthought, and they really make a difference – in the flesh!
Be sure to check out the new sketch over at CAS(E) this Sketch and join in with us!
Smiles for now,
Andrea
Well it definitely feels like January holidays were ages ago! I’ve been back at work about 2 and a half weeks and already my desire to craft at least once a week has gone out the window lol! I saw the current sketch at CAS(E) this Sketch and knew I had to make something, but then I saw last weeks sketch as well and thought the same thing but simply didn’t get there. Once the weather cools there will be less to do around our house so I’m thinking that will free up my weekends.
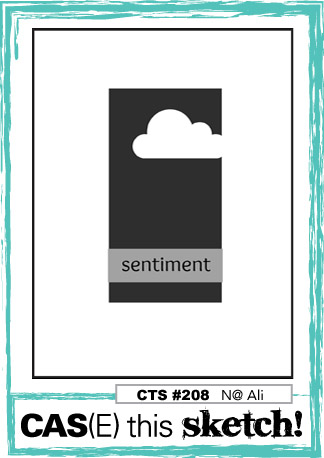
Here is this weeks great sketch:
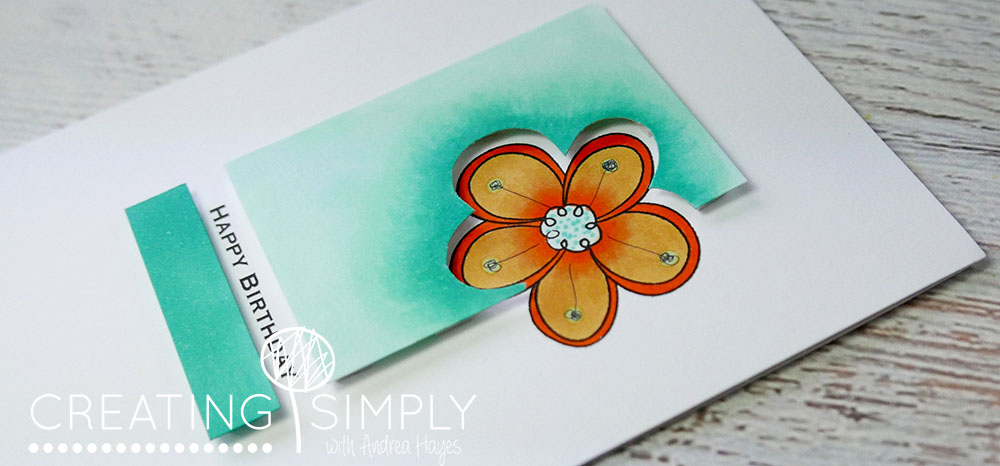
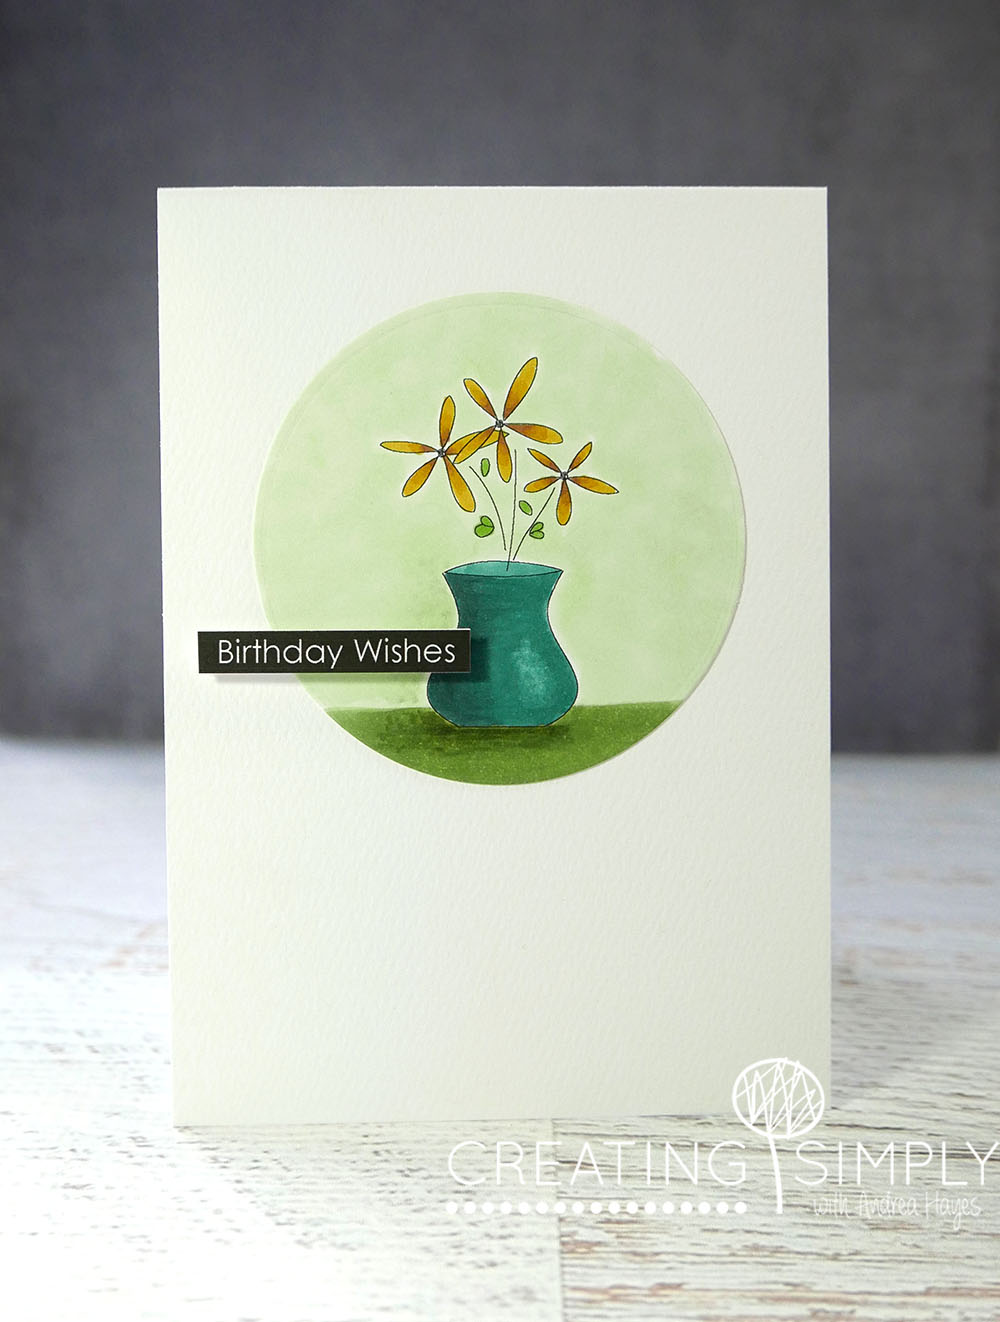
I decided on a doodle I created ages ago, but still haven’t completed the set because there are more elements I’d like to include to make it as versatile as possible.
The panels are raised and coloured with Copics with the silhouette of the flower cutout. The flower is on the main card and also coloured with Copics. I’m not the best photographer so showing off how the flower is indented was not easy, well at least not for me!
Enjoy the coming week, and don’t work too hard 😉
Smiles,
Andrea
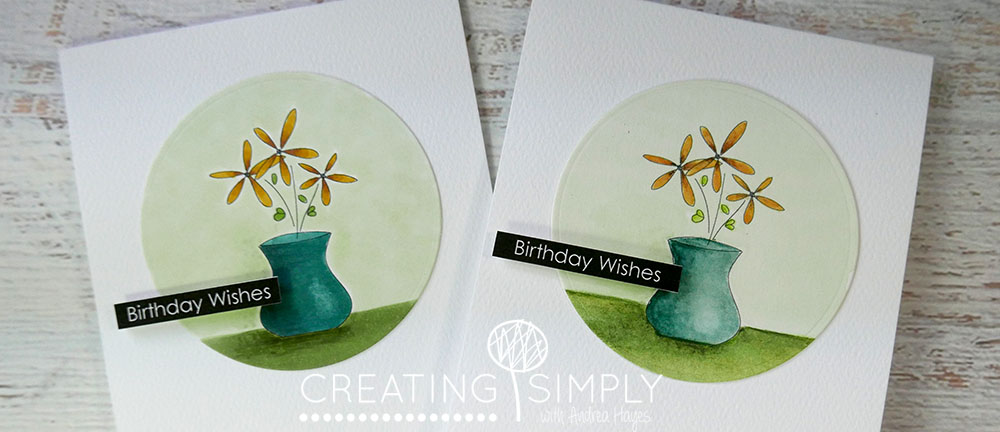
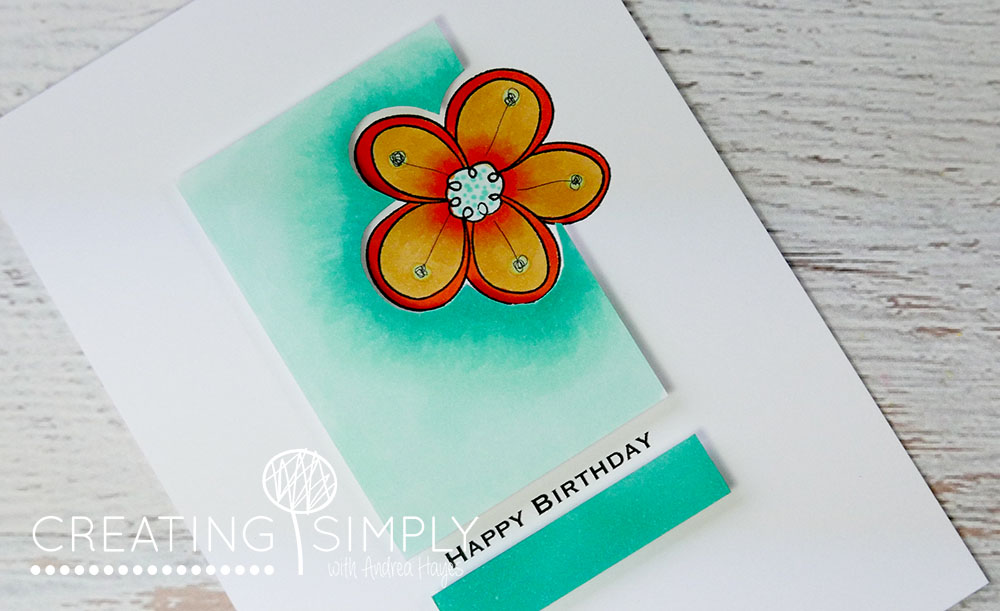
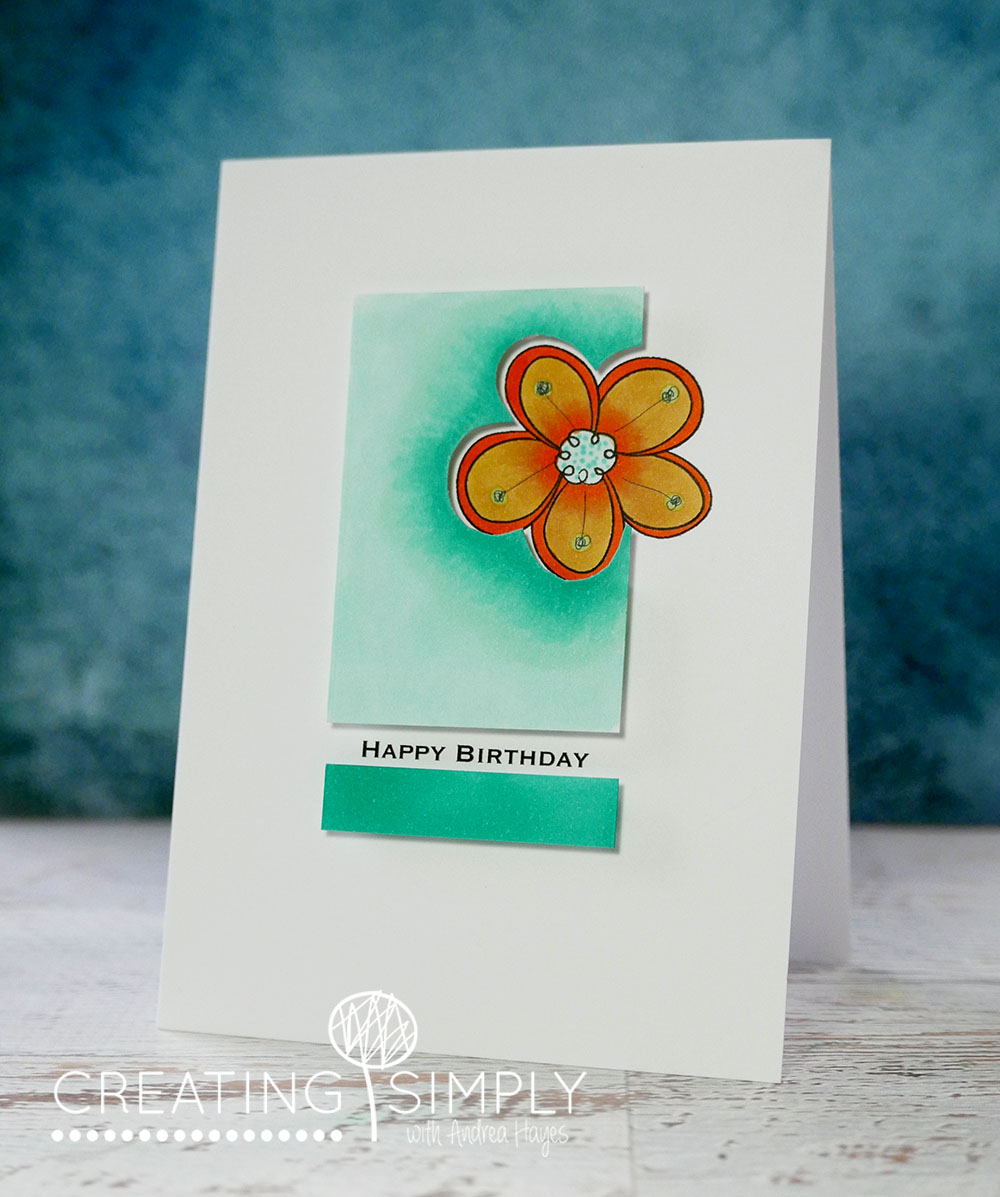
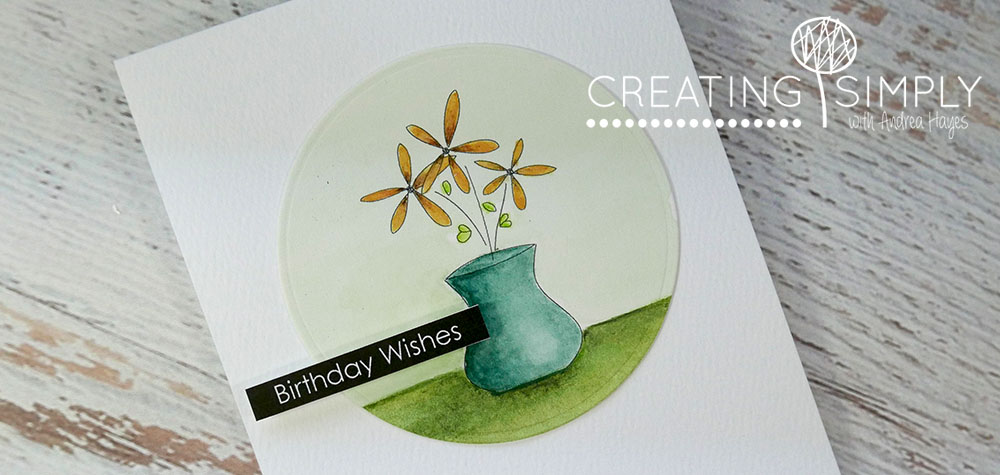
I loved the simple sketch at CAS(E) this Sketch this week and have had it sitting on my desktop for daaayyys, so today I got around to doing something about it! I wanted to use both Copics and Inktense and have tried to match the colours as close as I could just so I could see the differences.
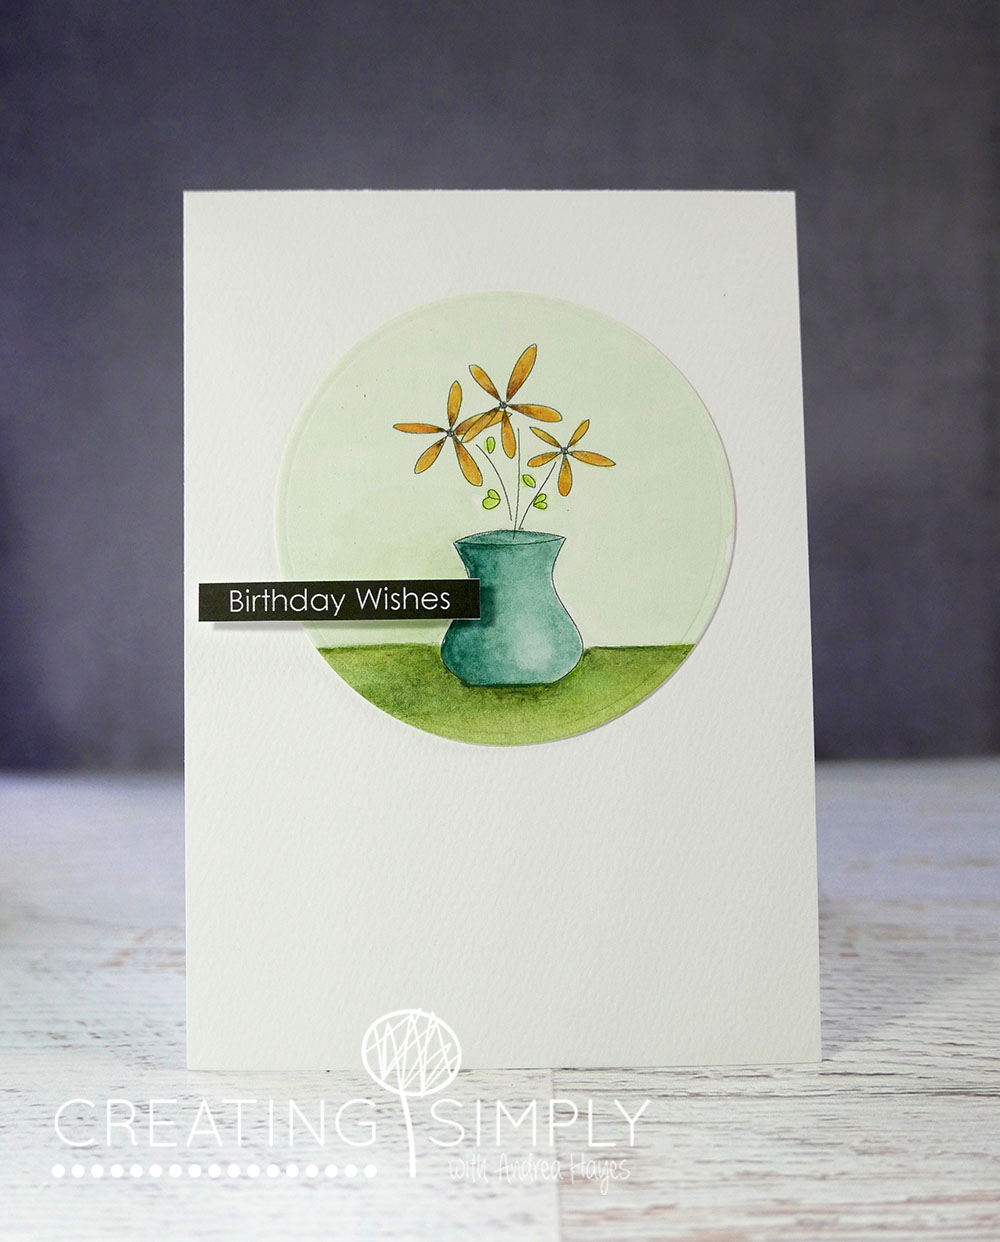
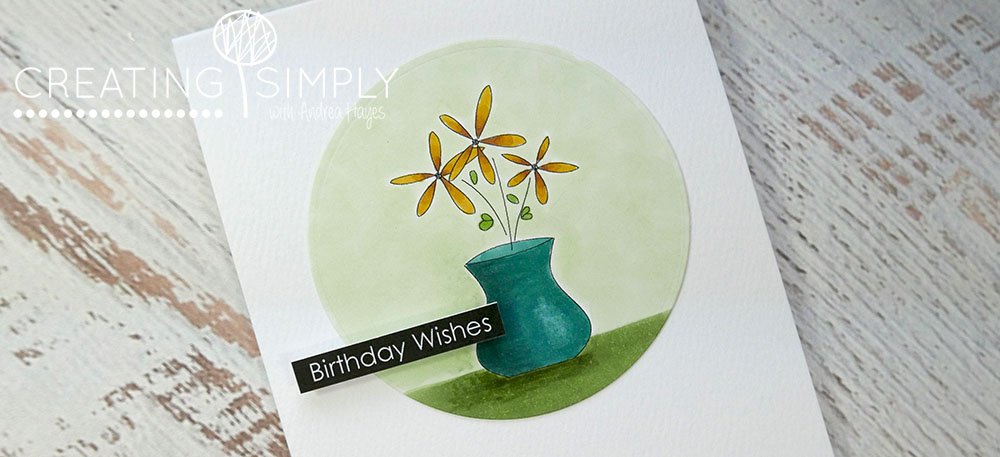
This one uses Inktense pencils. The light background at the top took mixing 3 colours to get something close to the colours I used in the Copic card, but I came pretty close with that I think. To me it looks like a watercolour card and not smooth like the Copic, but then I liked the Copic as well 🙂
The Copic card actually took a lot less time because I didn’t have to wait for anything to dry.
Not good lighting in my office today so it was hard to get a good shot, even with three lamps going! The image is from the Flowers For You set but I’ve used the digital version (coming soon) and scaled them larger to suit the card I had in my mind. The sentiment I created and printed at the same time as I printed the image out.
Here’s the sketch and I hope you enjoyed the comparison 🙂

Smiles,
Andrea
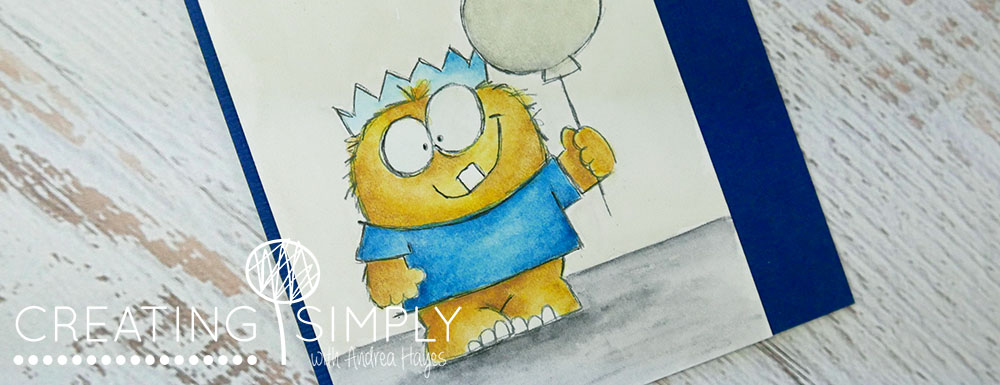
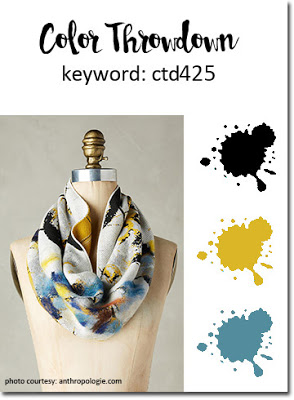
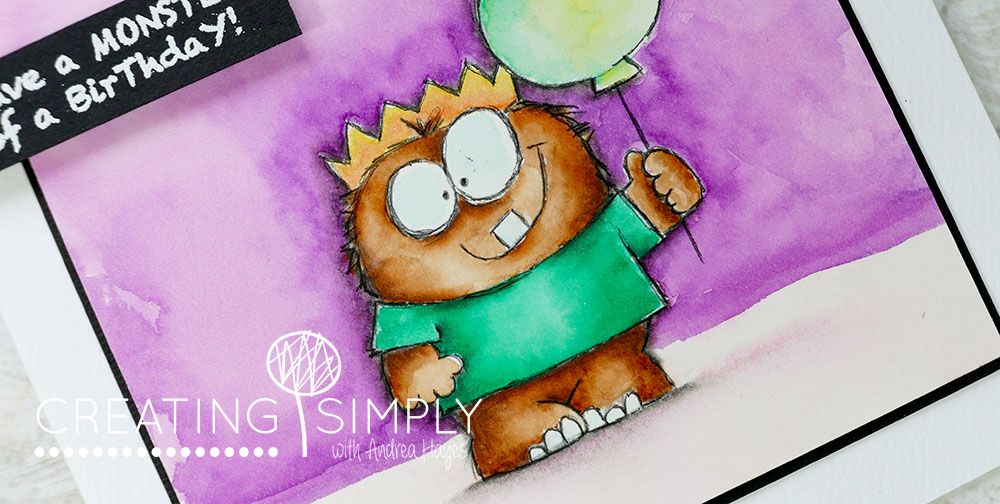
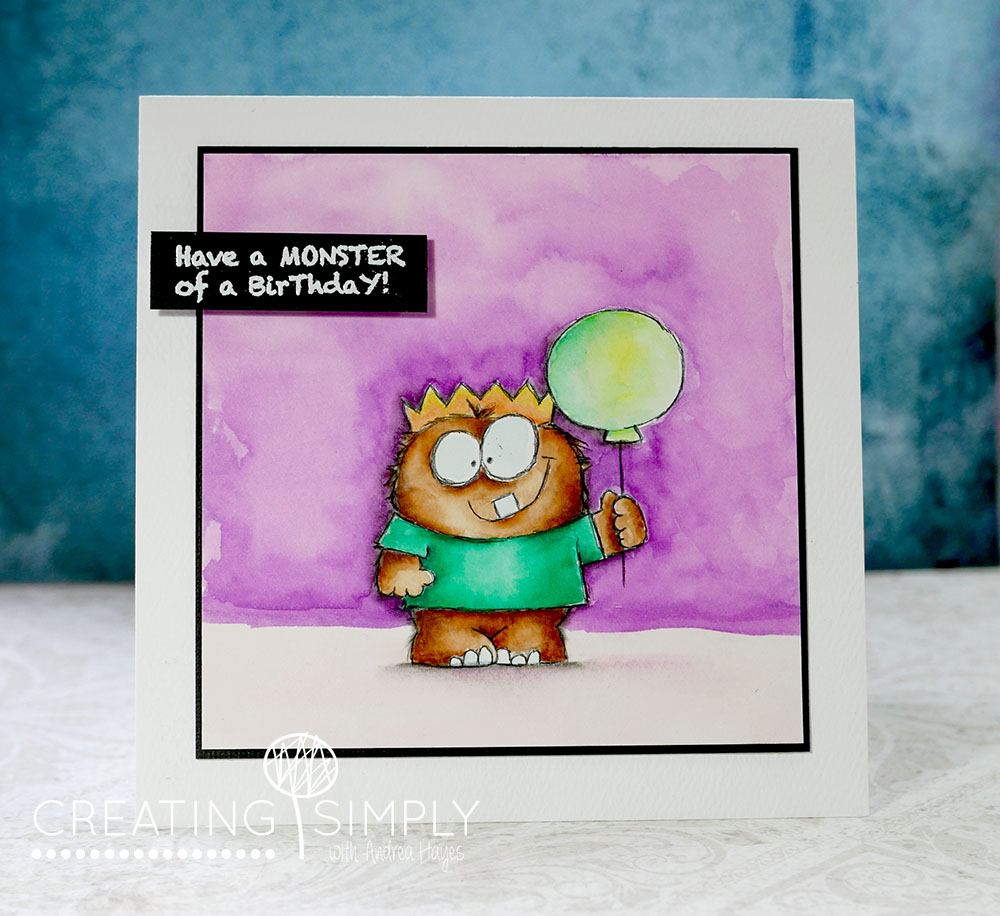
Ok, so when I stamped a sheet of watercolour paper the other day I stamped more than one of Lil Monster, so thought I’d better colour him and move him to the finished box of cards. After using my new Peerless watercolours for the last few projects I went back to my favourites for colouring in – Inktense pencils by Derwent (they’re just so easy to use).
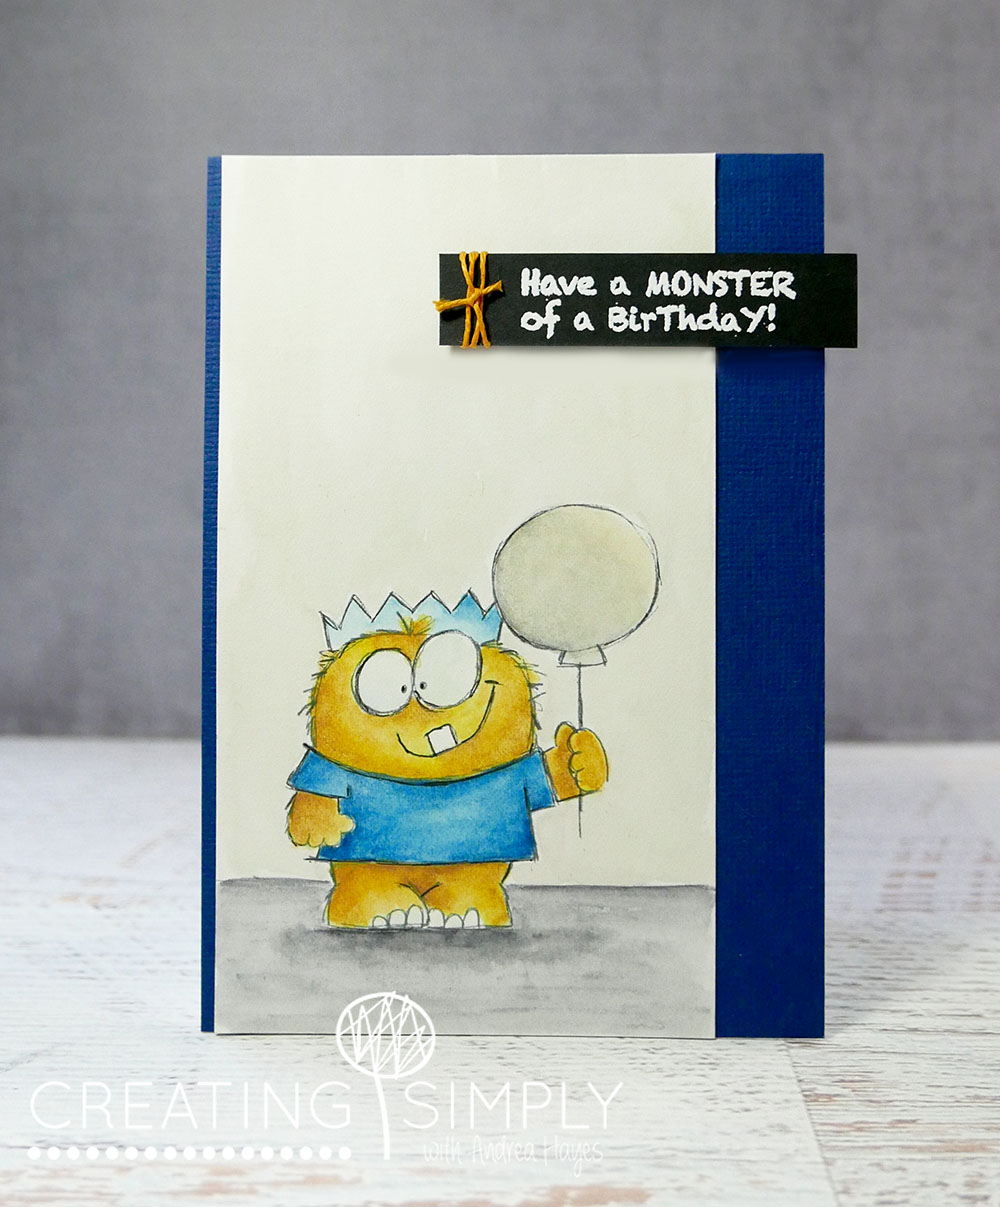
Very plain, possibly a little boring, but I don’t know another way that I’m comfortable with, so went with it! Lil Monster is coloured using – Golden Yellow, Mustard, Amber, Dk Aquamarine, Sea Blue, and the floor, background and balloon with Neutral Grey. The background and balloon was a combination of yellow and grey to create a very muted colour. I used the Neutral on the balloon and allowed it to dry before brushing the watered down yellow over. This time I left the image as is without adding any additional shading 🙂
I used the colour combo from the Color Throwdown challenge blog
Smiles,
Andrea
How do you celebrate your birthday? I tend to buy myself a treat and usually it’s along the lines of a crafty item, and this year I settled on the Peerless Watercolor cards by Jane Davenport. I’ve wanted to try these for ages (as well as the DR PH Martins!)- maybe next year for those 😉 This collection of 60 colours is beautiful. I spent an entire afternoon yesterday colouring the free download sheet from Jane’s website (below), as well as creating how I was going to store them. Now these colours were not cheap (well I don’t think they were), at $64.00AUD (find them HERE), and only time will tell if I think they were great value or not. I found that like most watercolours they lifted and blended beautifully, and for the most part the colours were vibrant, but my concern is how long they will actually last. For me that may be a long time because I have so many other favourite supplies to use, and it may simply be that the colours I chose to use in my cards below were not what I expected….
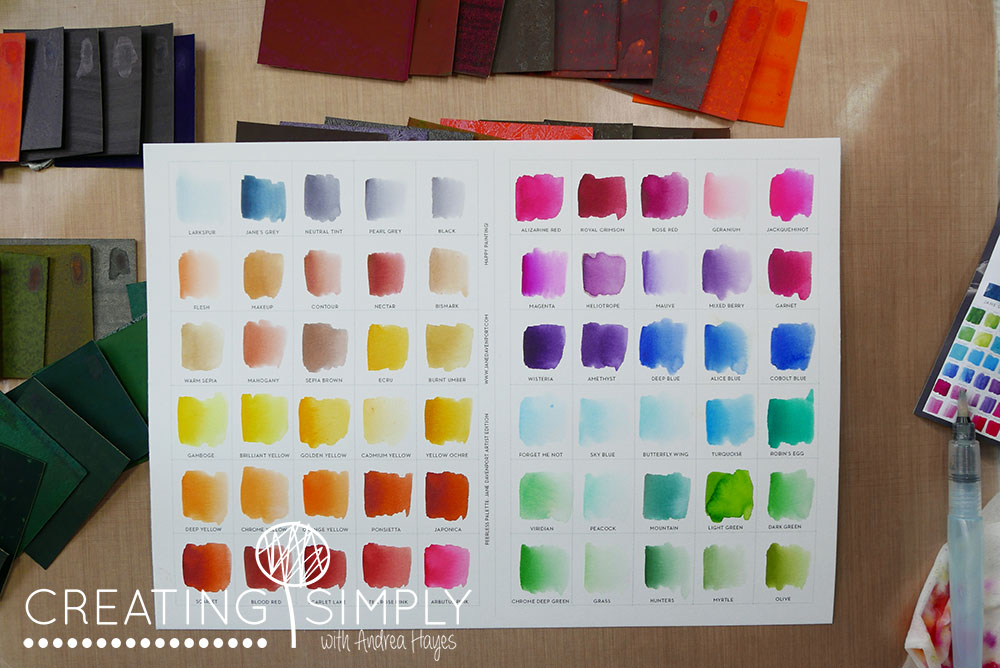
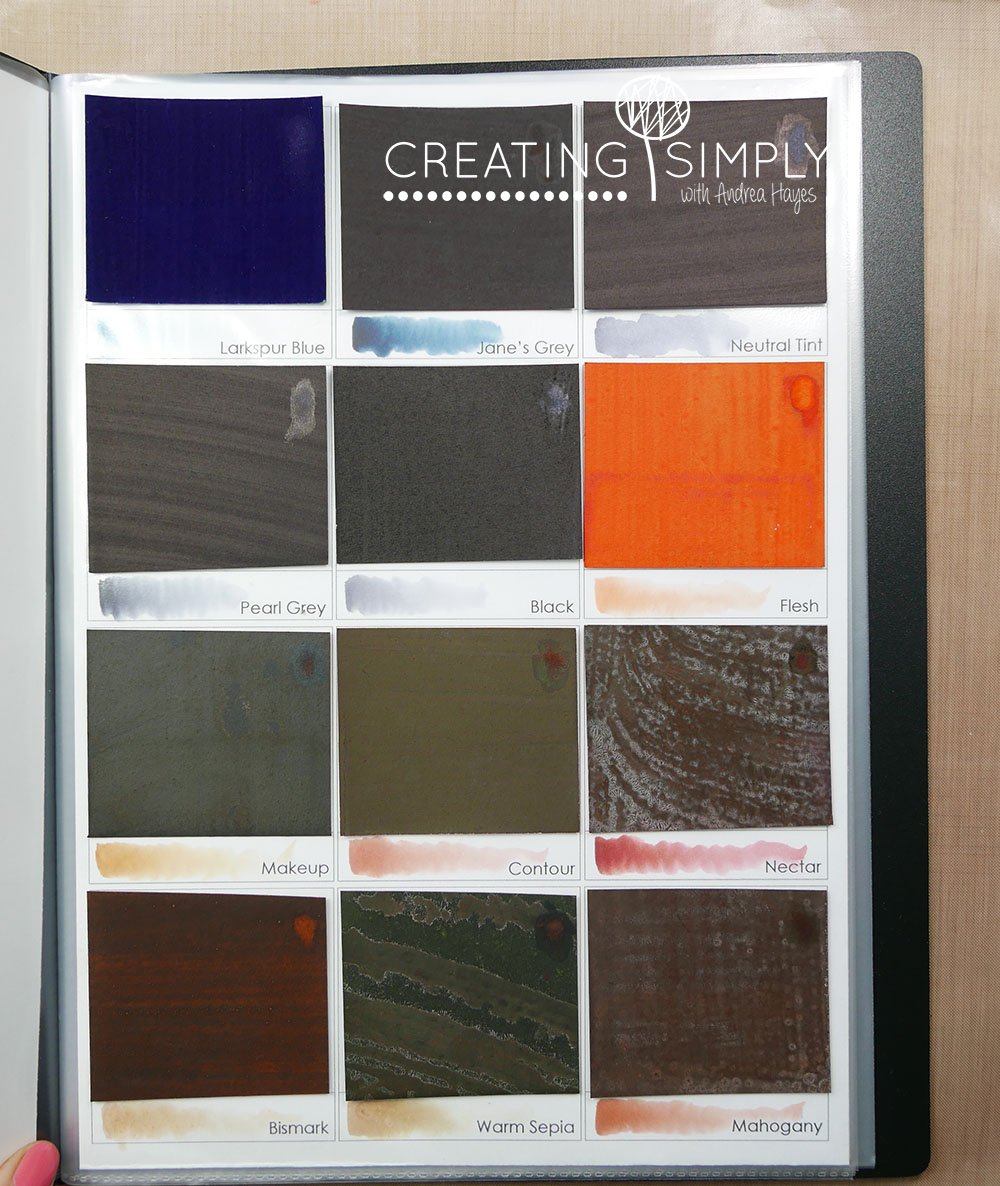
As I had a few days waiting for my present to arrive, I planned how I thought I’d store them. Many ideas I saw from other bloggers was to cut the squares so that they fitted on one sheet (above), but I didn’t want to do that, so I set off to Officeworks and found a 10 page binder with sleeves and created a sheet to put samples on…(below).

Once I’d coloured a sample of each square I placed the sheets in to the binder sleeves and then adhered the squares to the outside of the sleeves….does that make sense?? I do have a video of this, but I’m still having issues with iMovie, my new computer, and just me. Why they change things when they worked in they’re wonderful simplicity before I will never know! Before I could just drag and drop a photo in, but no, not anymore. So this binder now complete with the first reference sheet above, the five sheets with the pigmented squares, my Koi watercolour reference pallet and my Inktense reference pallet inside is still only no more than 1cm thick, so I think it’s still very portable without having to trim them down!
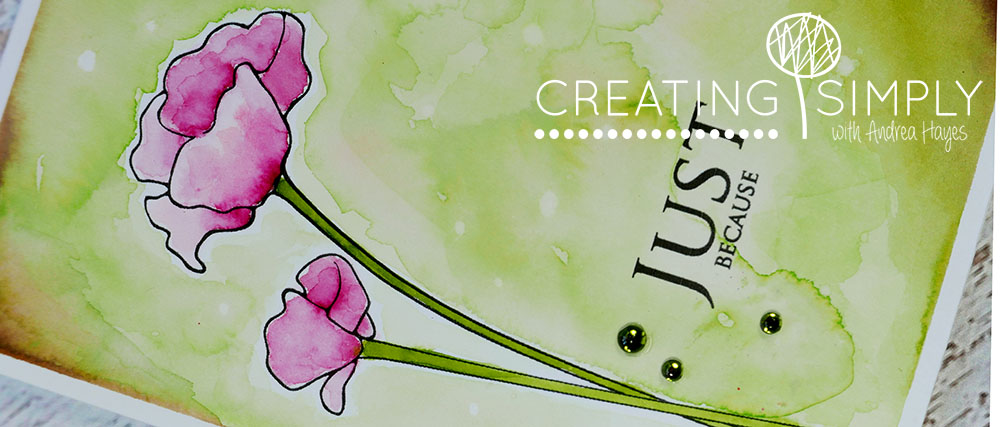
So here is a card I made using my birthday present to me. The softer pink is Geranium and the darker Jackqueminot, and Olive. I know the Geranium is a light colour, but this is one of the colours I think will not last long as there just doesn’t seem to be the same intensity as most of the other colours when you pick it up with your brush.

I used the colour challenge on at Splitcoast CC617 for my inspiration 🙂 and the stamp set Remember When for my images, with Olive Sprinkles to decorate.

I used the same colours in my second card and kept it also as a one layer card like the first. For this one I used Rose coloured Sprinkles.

Well either way I had fun playing around with my new watercolours! Let me know if you’ve tried these before and what you thought of them.
Smiles,
Andrea
Supplies:
Peerless Watercolors by Jane Davenport
Remember When Stamp Set
Derwent Watercolour Paper
Well I have to say I’m liking taking some time to colour! I should be doing a little more cleaning before I get started in to this or my New Years resolution to craft is going to go up in smoke! I hate crafting in a mess and my office has been in disarray for months and months!
Today I’ve used Lil Monster’s Balloon and once again my Tombow Markers. I don’t have many colours in these markers so I am finding the colour range a little restrictive, but I have to resist spending any money on more when I have so many other mediums that I can be using. I also have already recently purchased more watercolours (I’ll share later this week – still setting them up :)), and can’t allow myself to spend anymore!
Li Monster has always been one of my favourites, I have made many cards using this little guy. He was designed by Helen Pickup from the UK, and is just adorable. I once again coloured directly to the paper with the maker for his body and top, and then picked colour up from an acrylic block for the lighter shading. The colour moves around easily and blends beautifully. The shading was done with Pastel pencils.
Have a wonderful day and I’ll be back with my new watercolours 🙂
Smiles,
Andrea
So yes, I have to say it’s been a while since I had time to craft. Partly due to my office (would love to re-build!), but mostly due to time. This year I hope to change that because colouring is my relaxation and de-stress (alongside my books!), and who doesn’t need that. I hope you all had a wonderfully blessed Christmas with family and/or friends, they make the season so very special.
I have also added to my 2017 resolutions to create videos again, just simple ones…didn’t get off to a good start with my new camera taping in a format that I can’t use in iMovie, so after researching how to convert it, and what to do I simply decided to share the card and forget the video for today…it was only going to be a simple video anyway 🙂
I love watercolours. I love my Derwent Inktense Pencils, Derwent watercolour pencils, Koi Watercolors, and my Tombow Markers. My Tombows must be close to 15 years old, and I haven’t picked them up in ages, but they are still juicy, and still work brilliantly! So seeing as I’m a little out of practise, using the markers was a good place to start.
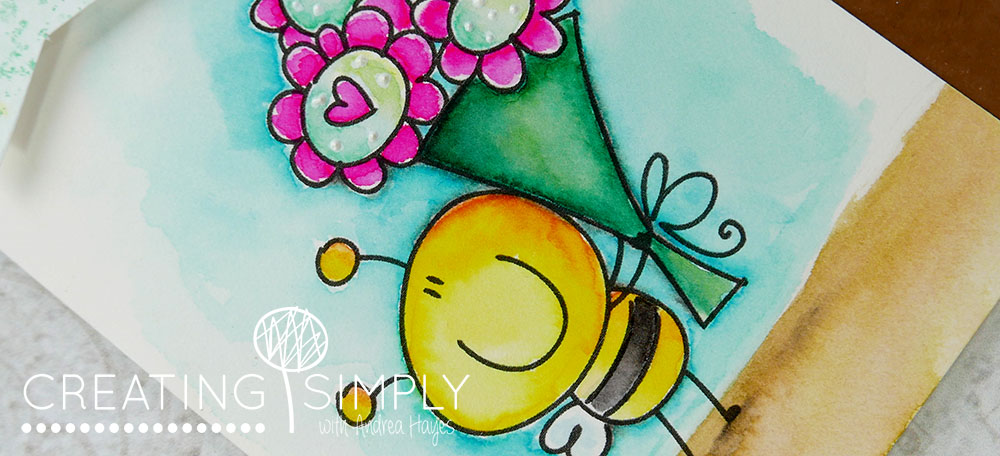
Today I’m using Lil Bee’s Big Flowers, a set from my AnnaBelle collection. For those who don’t know me I ‘Once Upon a Time’ had a little shop that sold my collection of stamps. Today these stamps are being sold through a store I opened to ‘sell-off’ those stamps and to gradually introduce a digital version of my designs only, as well as my Sprinkle embellishments. This has been a long process, but I’m getting closer every day with all the Cling & Clear sets now in store ($3.00 – $10.00!), the Sprinkles added, and just a few digital sets at the moment with more to come.

For the most part I added colour directly to the paper (Langton Watercolour – Daler Rowney) from the marker, then moved it around with a wet brush, and in other lighter sections I scribbled the marker on an acrylic block and lifted the colour with my paint brush. A touch of shading with a black pastel pencil, and a couple of Rhubarb 4mm Sprinkles.
Back to tidying this office and finishing my next project 🙂
Smiles,
Andrea
It’s just an inkling, but I feel like it’s been a while since I’ve been in my craft room.. Do any of you find it hard sometimes to fit everything in?? And it’s not as though I haven’t had cause to make a card, I have (sons birthday), and I did, but actually making it to the computer to blog tipped the time factor over the edge lol!
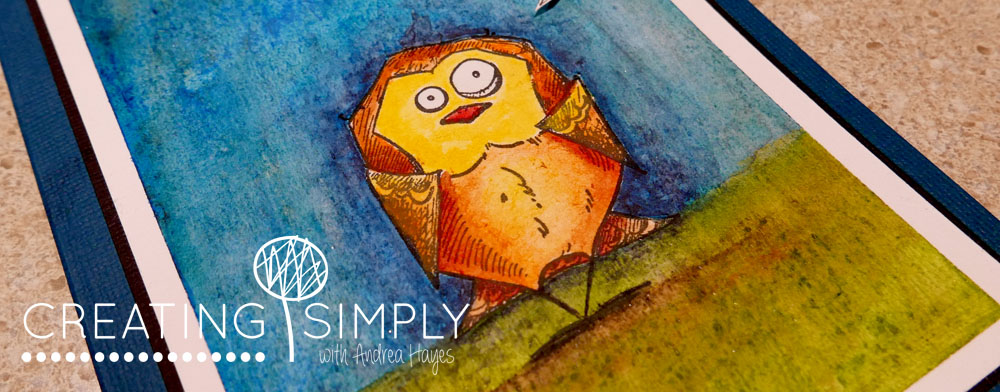
So albeit a little late (mid July) here is Nathan’s card 🙂 I won’t even begin to confess that I’ve had these gorgeous birds since January, a set I’ve wanted for ages!
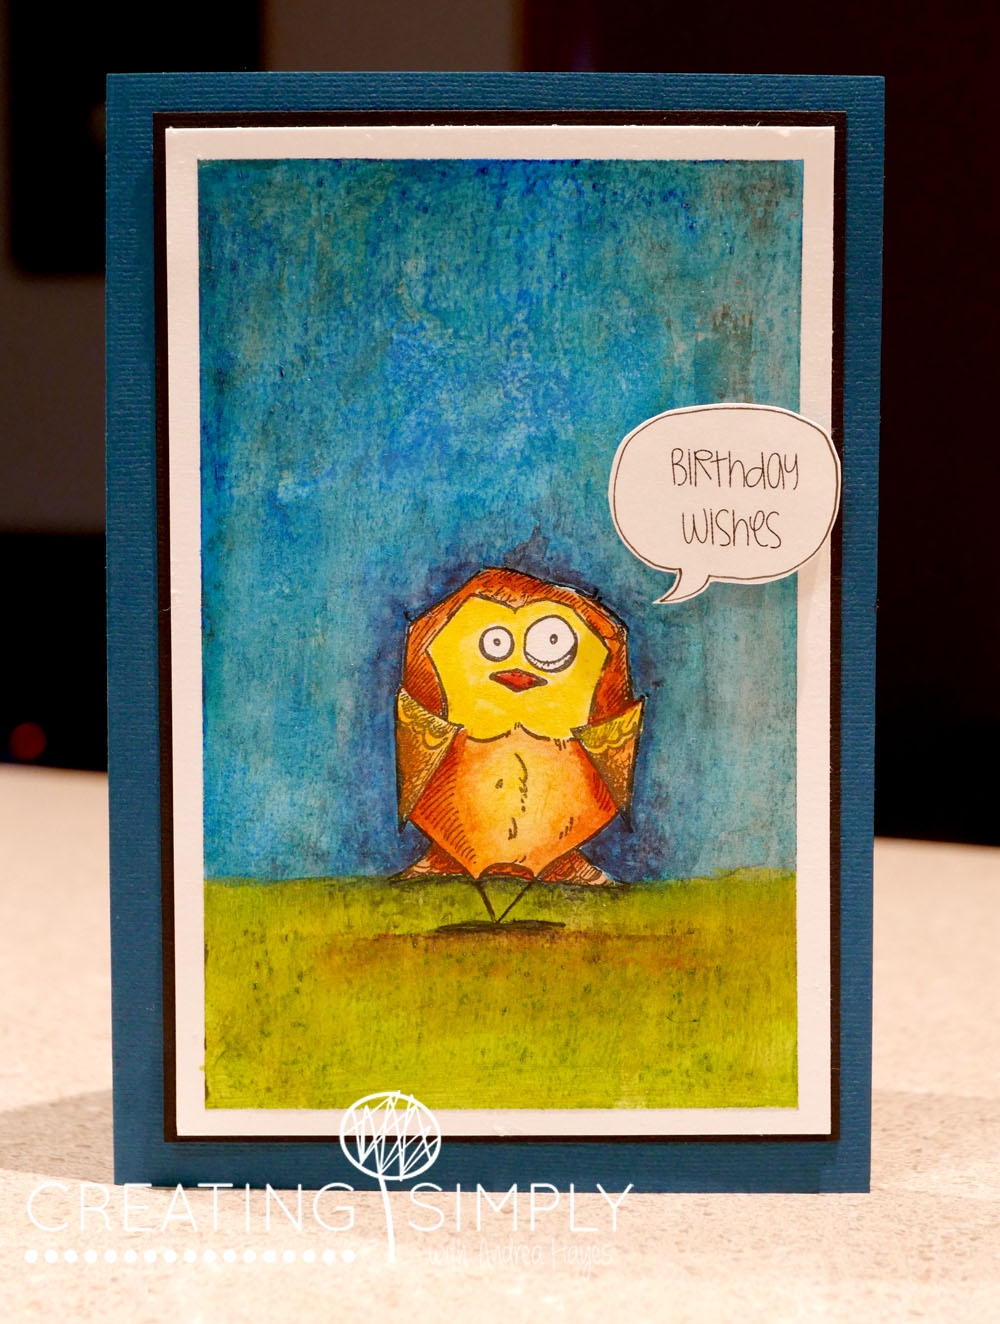
I took the photos at night in my kitchen sitting on my bench, so the light isn’t fantastic, but the brightness of the Inktense pencils still shines! I started by wanting to add some texture to the card stock so coated it with a transparent Gesso, allowed it to dry, then started the scene. This cute bird is from the Tim Holtz ‘Bird Crazy’ set, a set I need to add the little extras to! I stamped him then applied a watercolour masking fluid before doing the background. I drew a freehand word bubble around an already printed out sentiment (too easy!), and added this with dimensional tape.
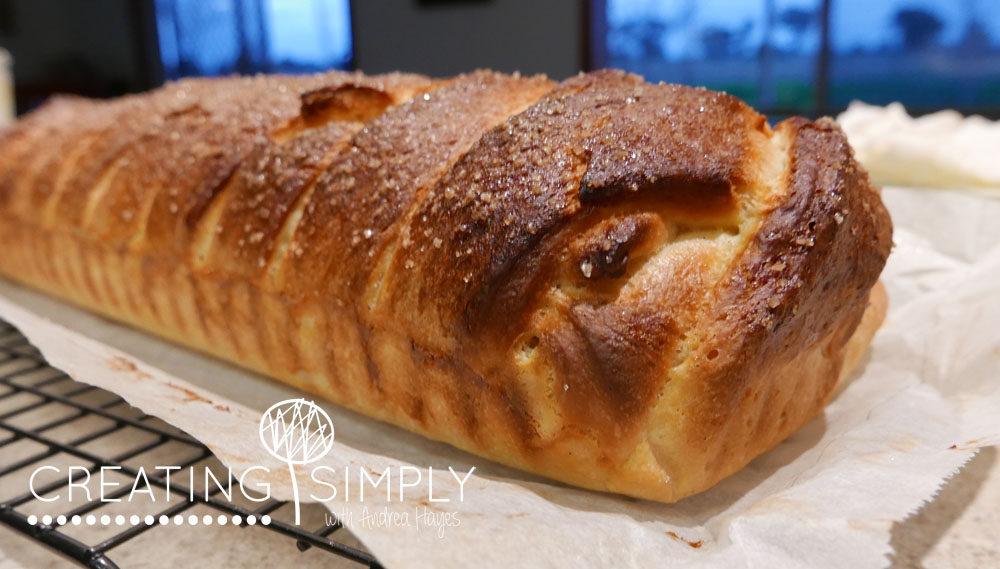
The day I took the photos I had baked this loaf – Braided Lemon Bread – Yum! – so I thought I would share 🙂
Have a fabulous weekend!
Smiles,
Andrea

Hi! Today I’ve used an image from an old AnnaBelle Stamps set called Party Animal. I’m in the process of converting these files over to digital and should have them up soon, so thought it was a great opportunity to take one for a test run.
I’ve seen so many cards recently with the splodgey watercolour background, you know the one using a piece of acetate wand watered down ink?… Now I know that’s not the correct word for this technique but for the life of me I can’t remember it! So that’s what I’ve done, splodged colour on after I’ve protected my image with Daler Rowneys masking fluid, then coloured the image with Inktense pencils. You can see a touch of texture to the background and that’s where I’ve lifted some of the colour using a paper towel 🙂
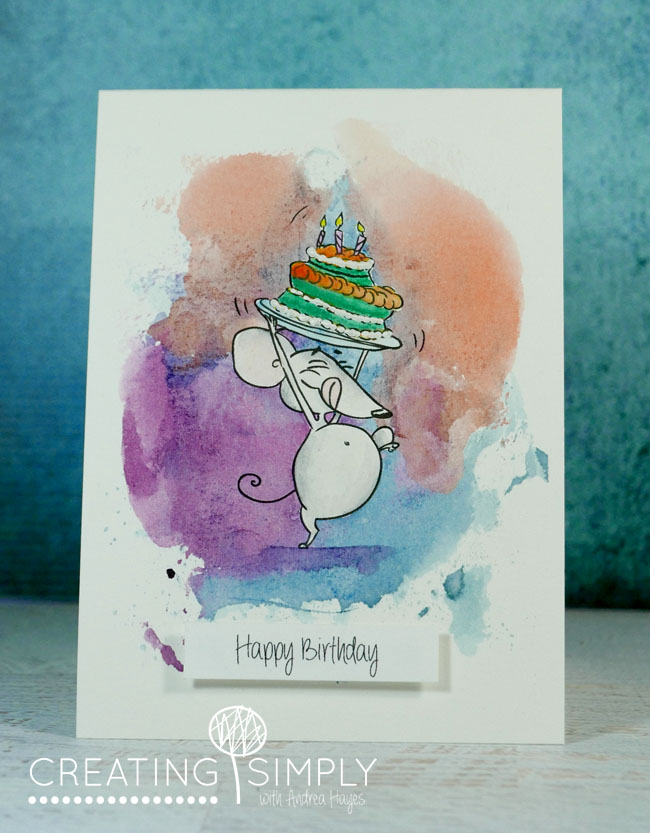
So there you have it. A (nearly) one layer card with that ‘splodgey’ background. Hmmm I know someone out there must know the correct technique name and if you do please let me know!!
Smiles,
Andrea
