I have always loved to colour but it usually had to have a purpose, and usually in the form of a greeting card. Now I admit I have spent many years watching others use adult colouring books and wondered why. I watched and thought that’s a waste of valuable time. But I always watched in awe of their talent.
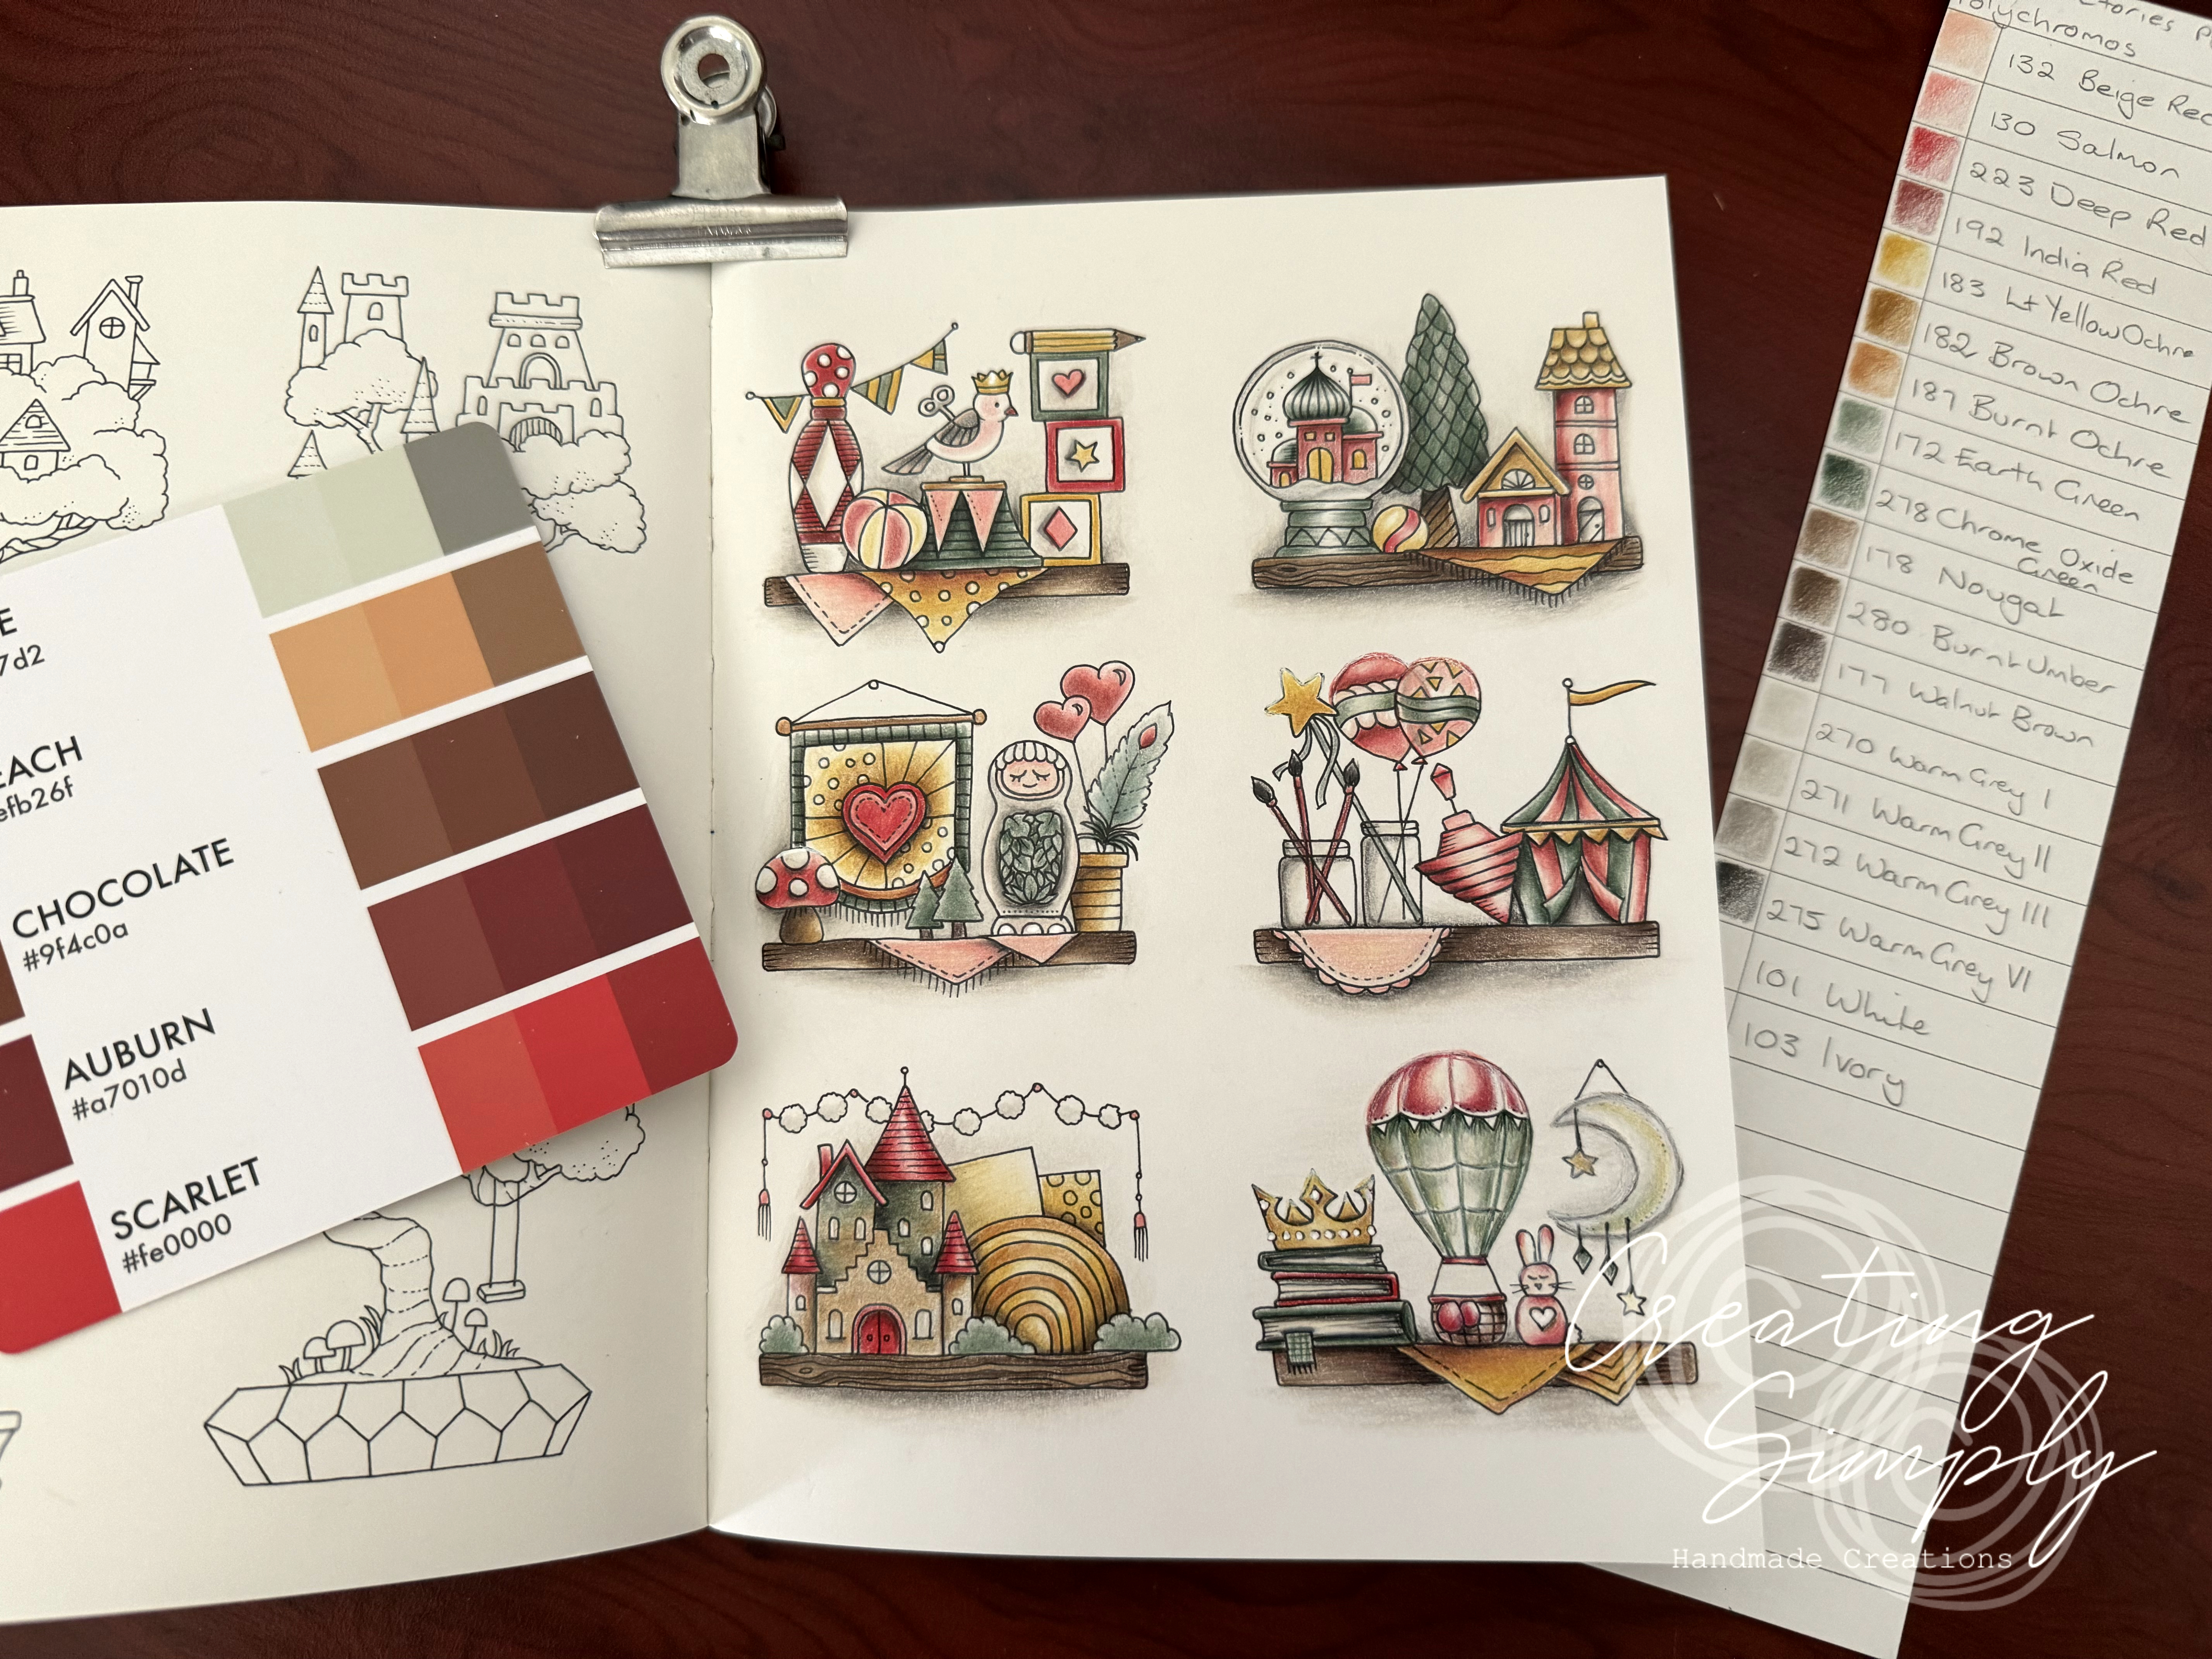
Late last year I purchased this book. Found that once again time was against me so it went on to my shelf, but then like many things craft related I found a new obsession with colouring books and purchasing them! So my answer to ‘What would you like for Christmas?’ came in the form of a new book.
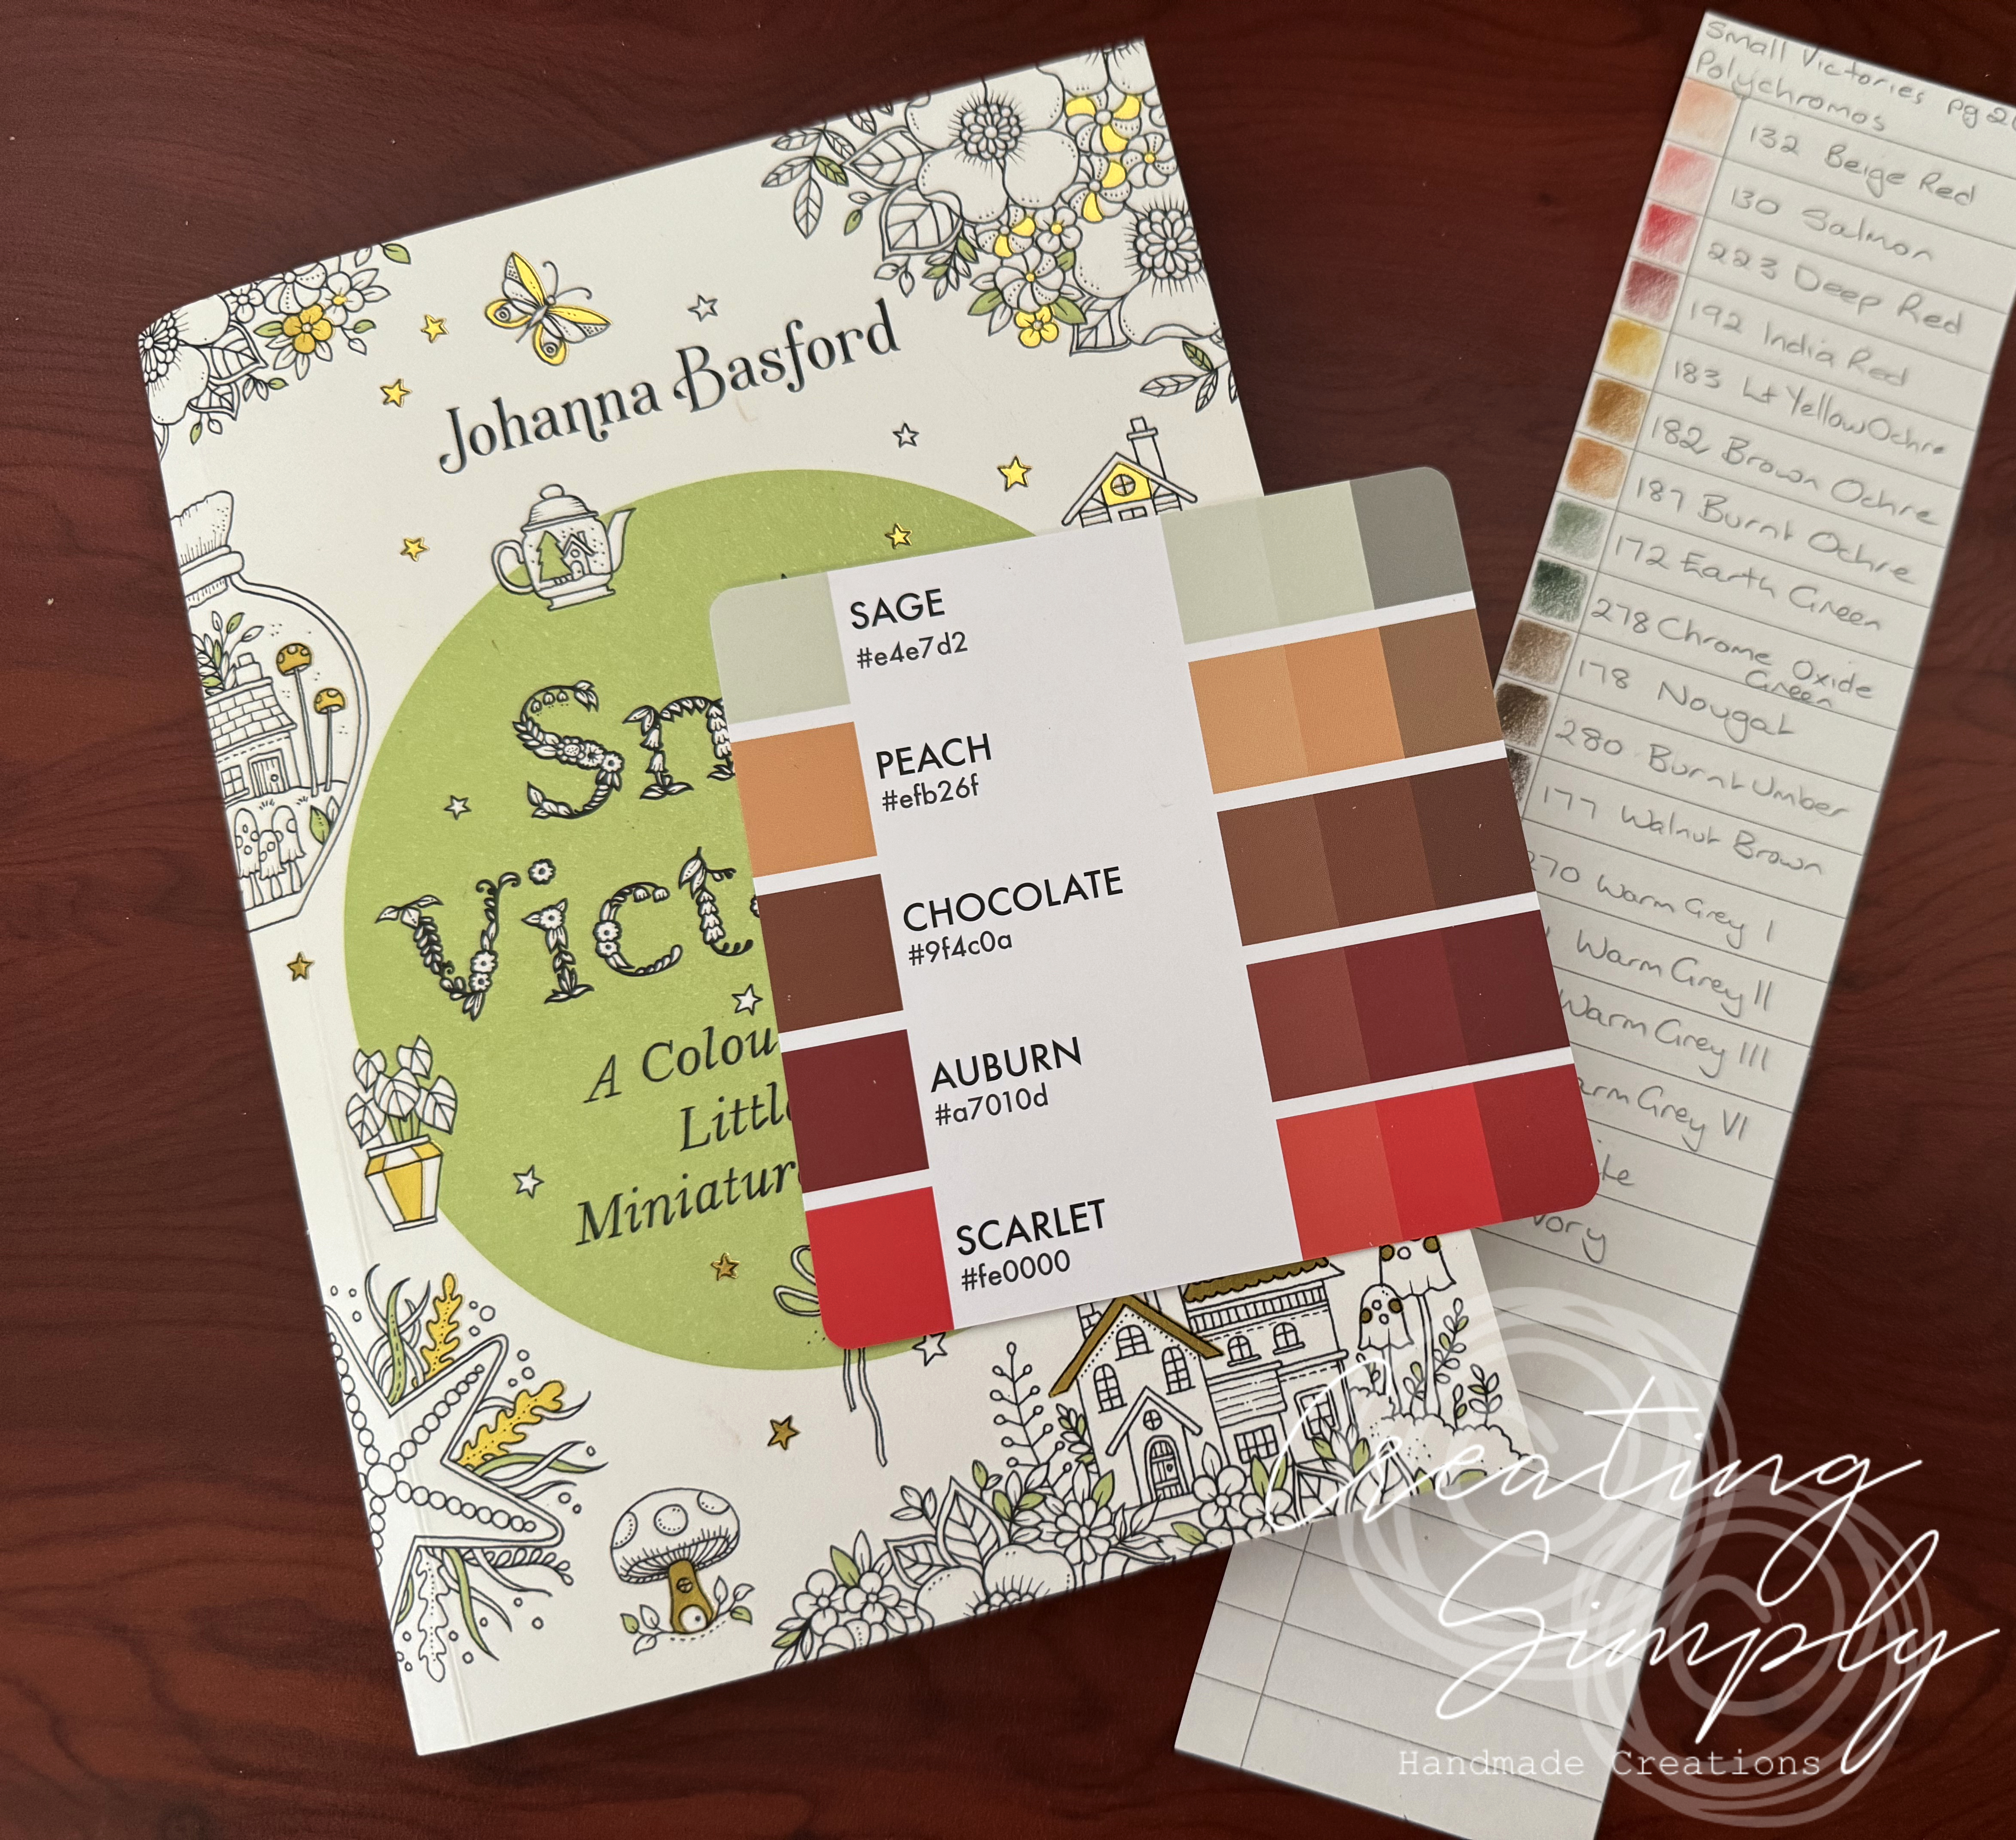
I also found these Color Cubes by Sarah Renae Clark and decided to give them a go. It was more about how much I love colour and especially love physical cards, and maybe the fact I love collecting things.
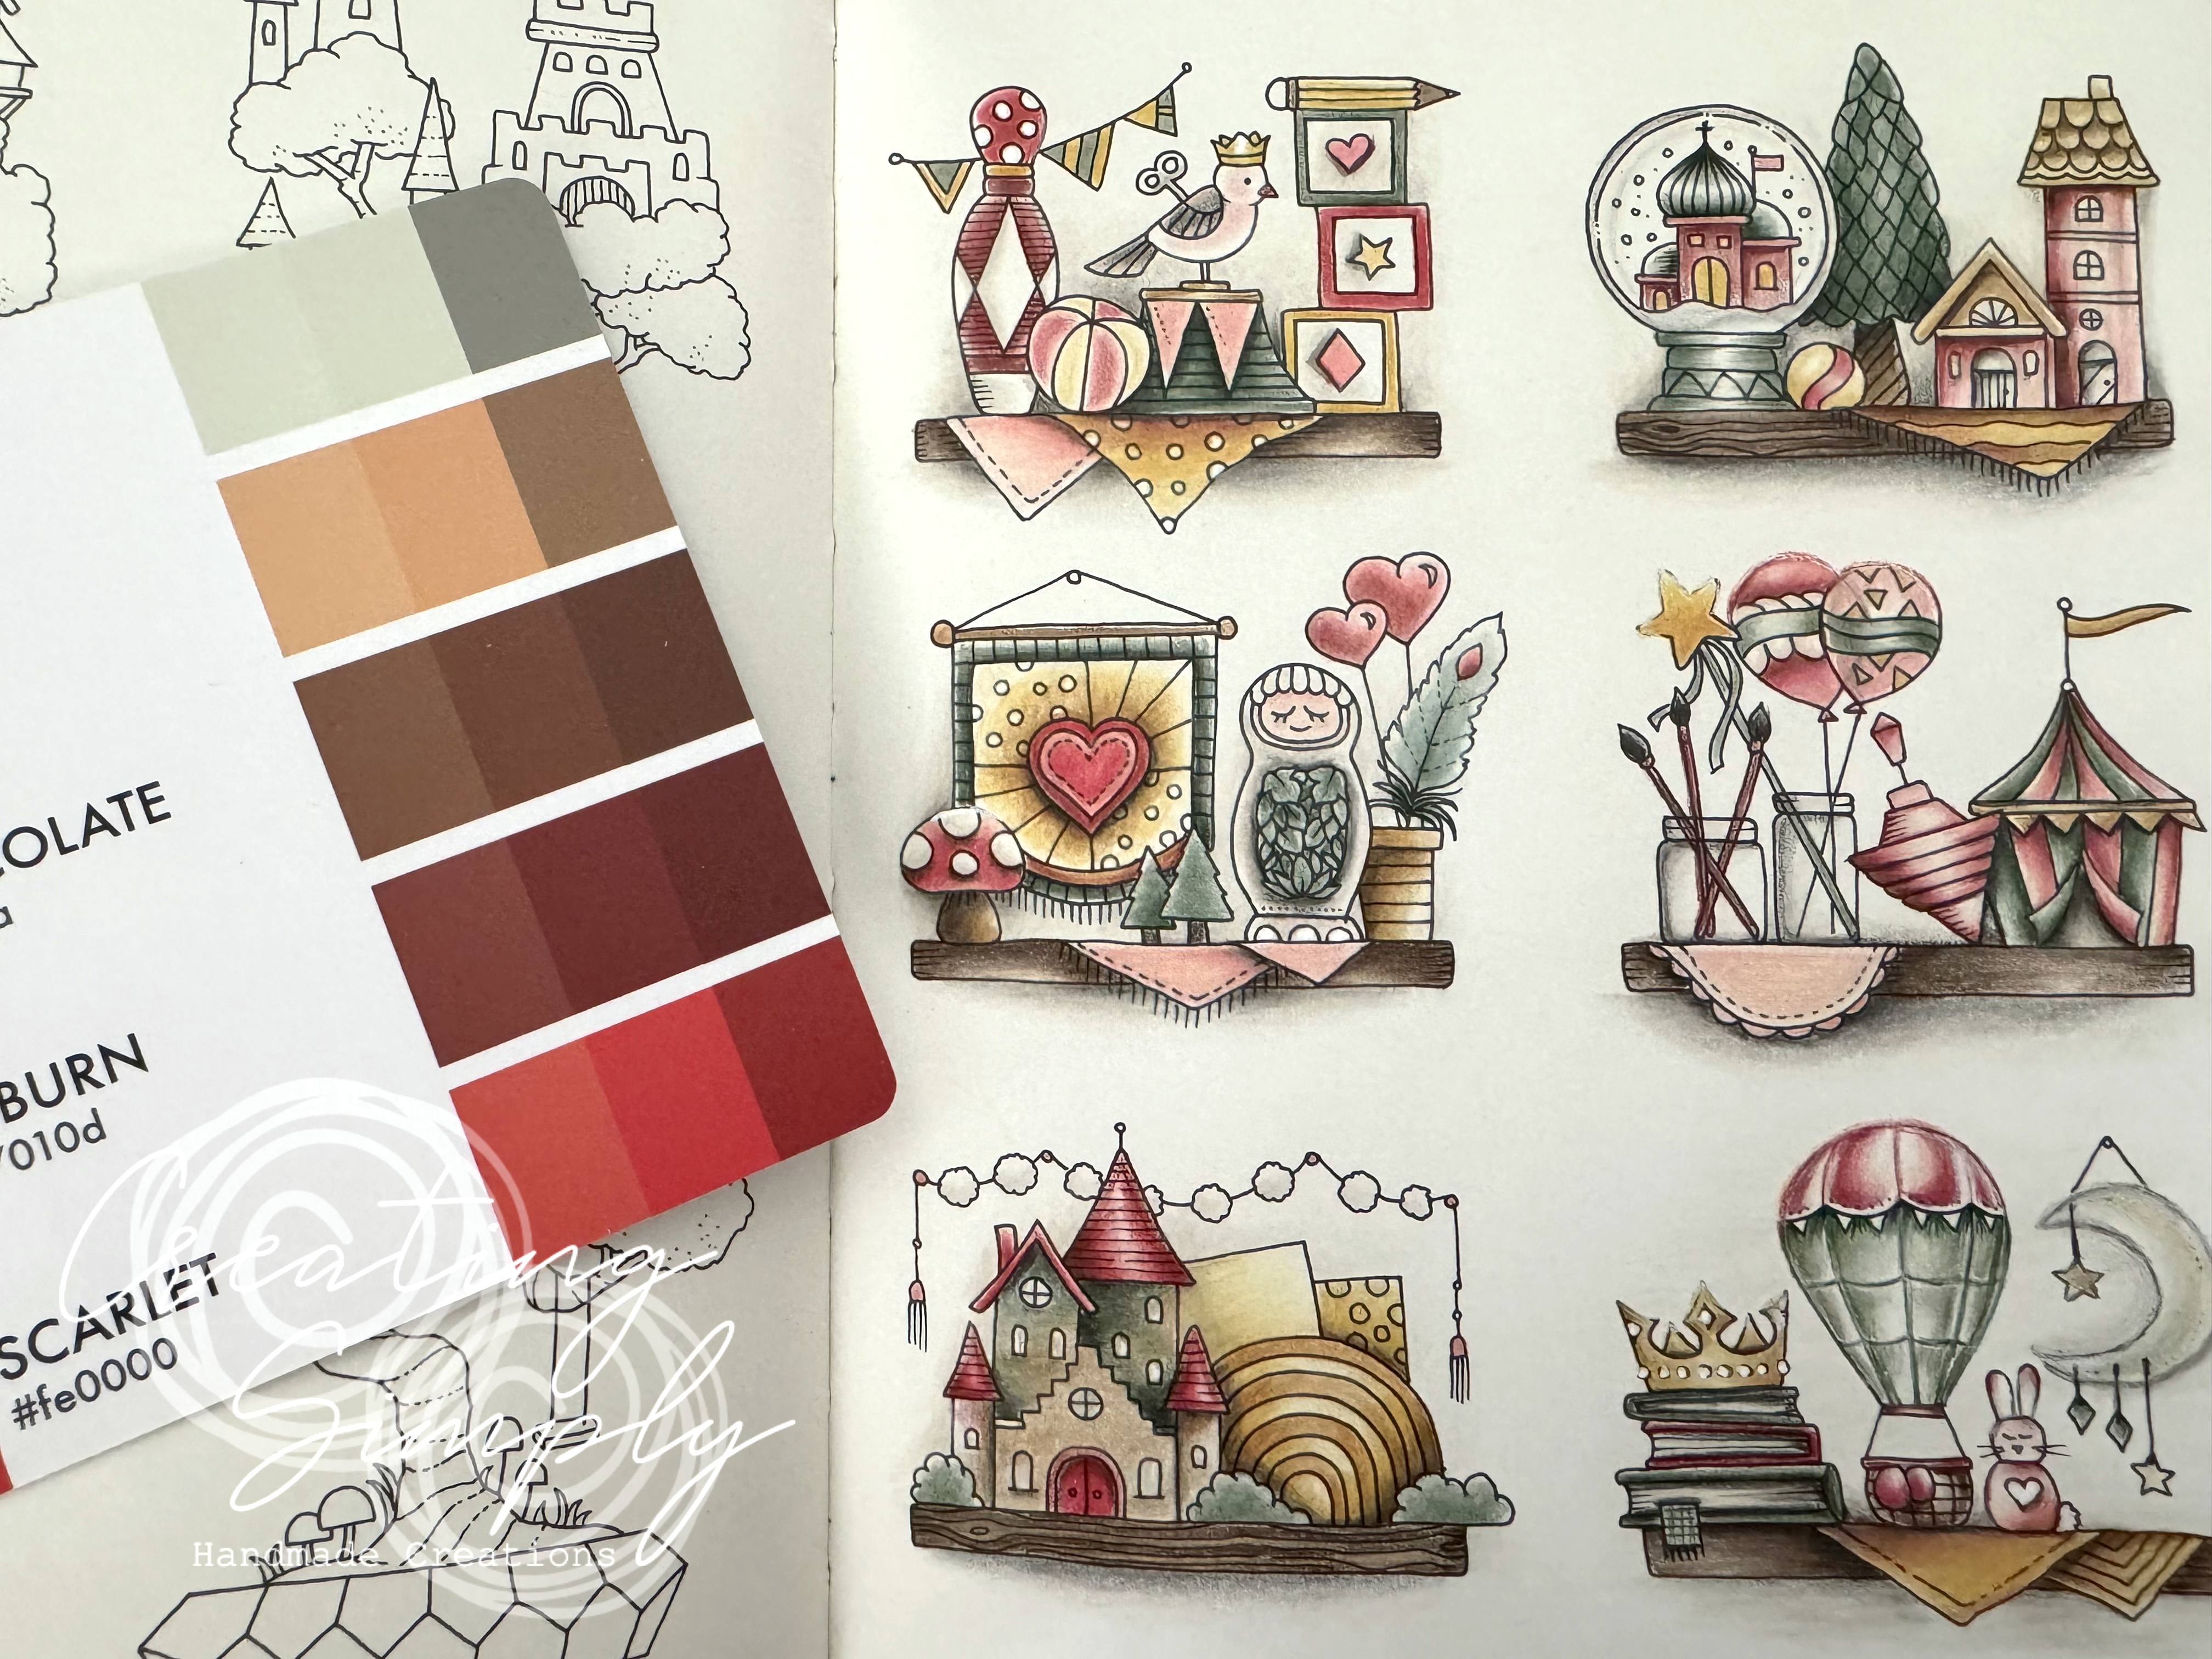
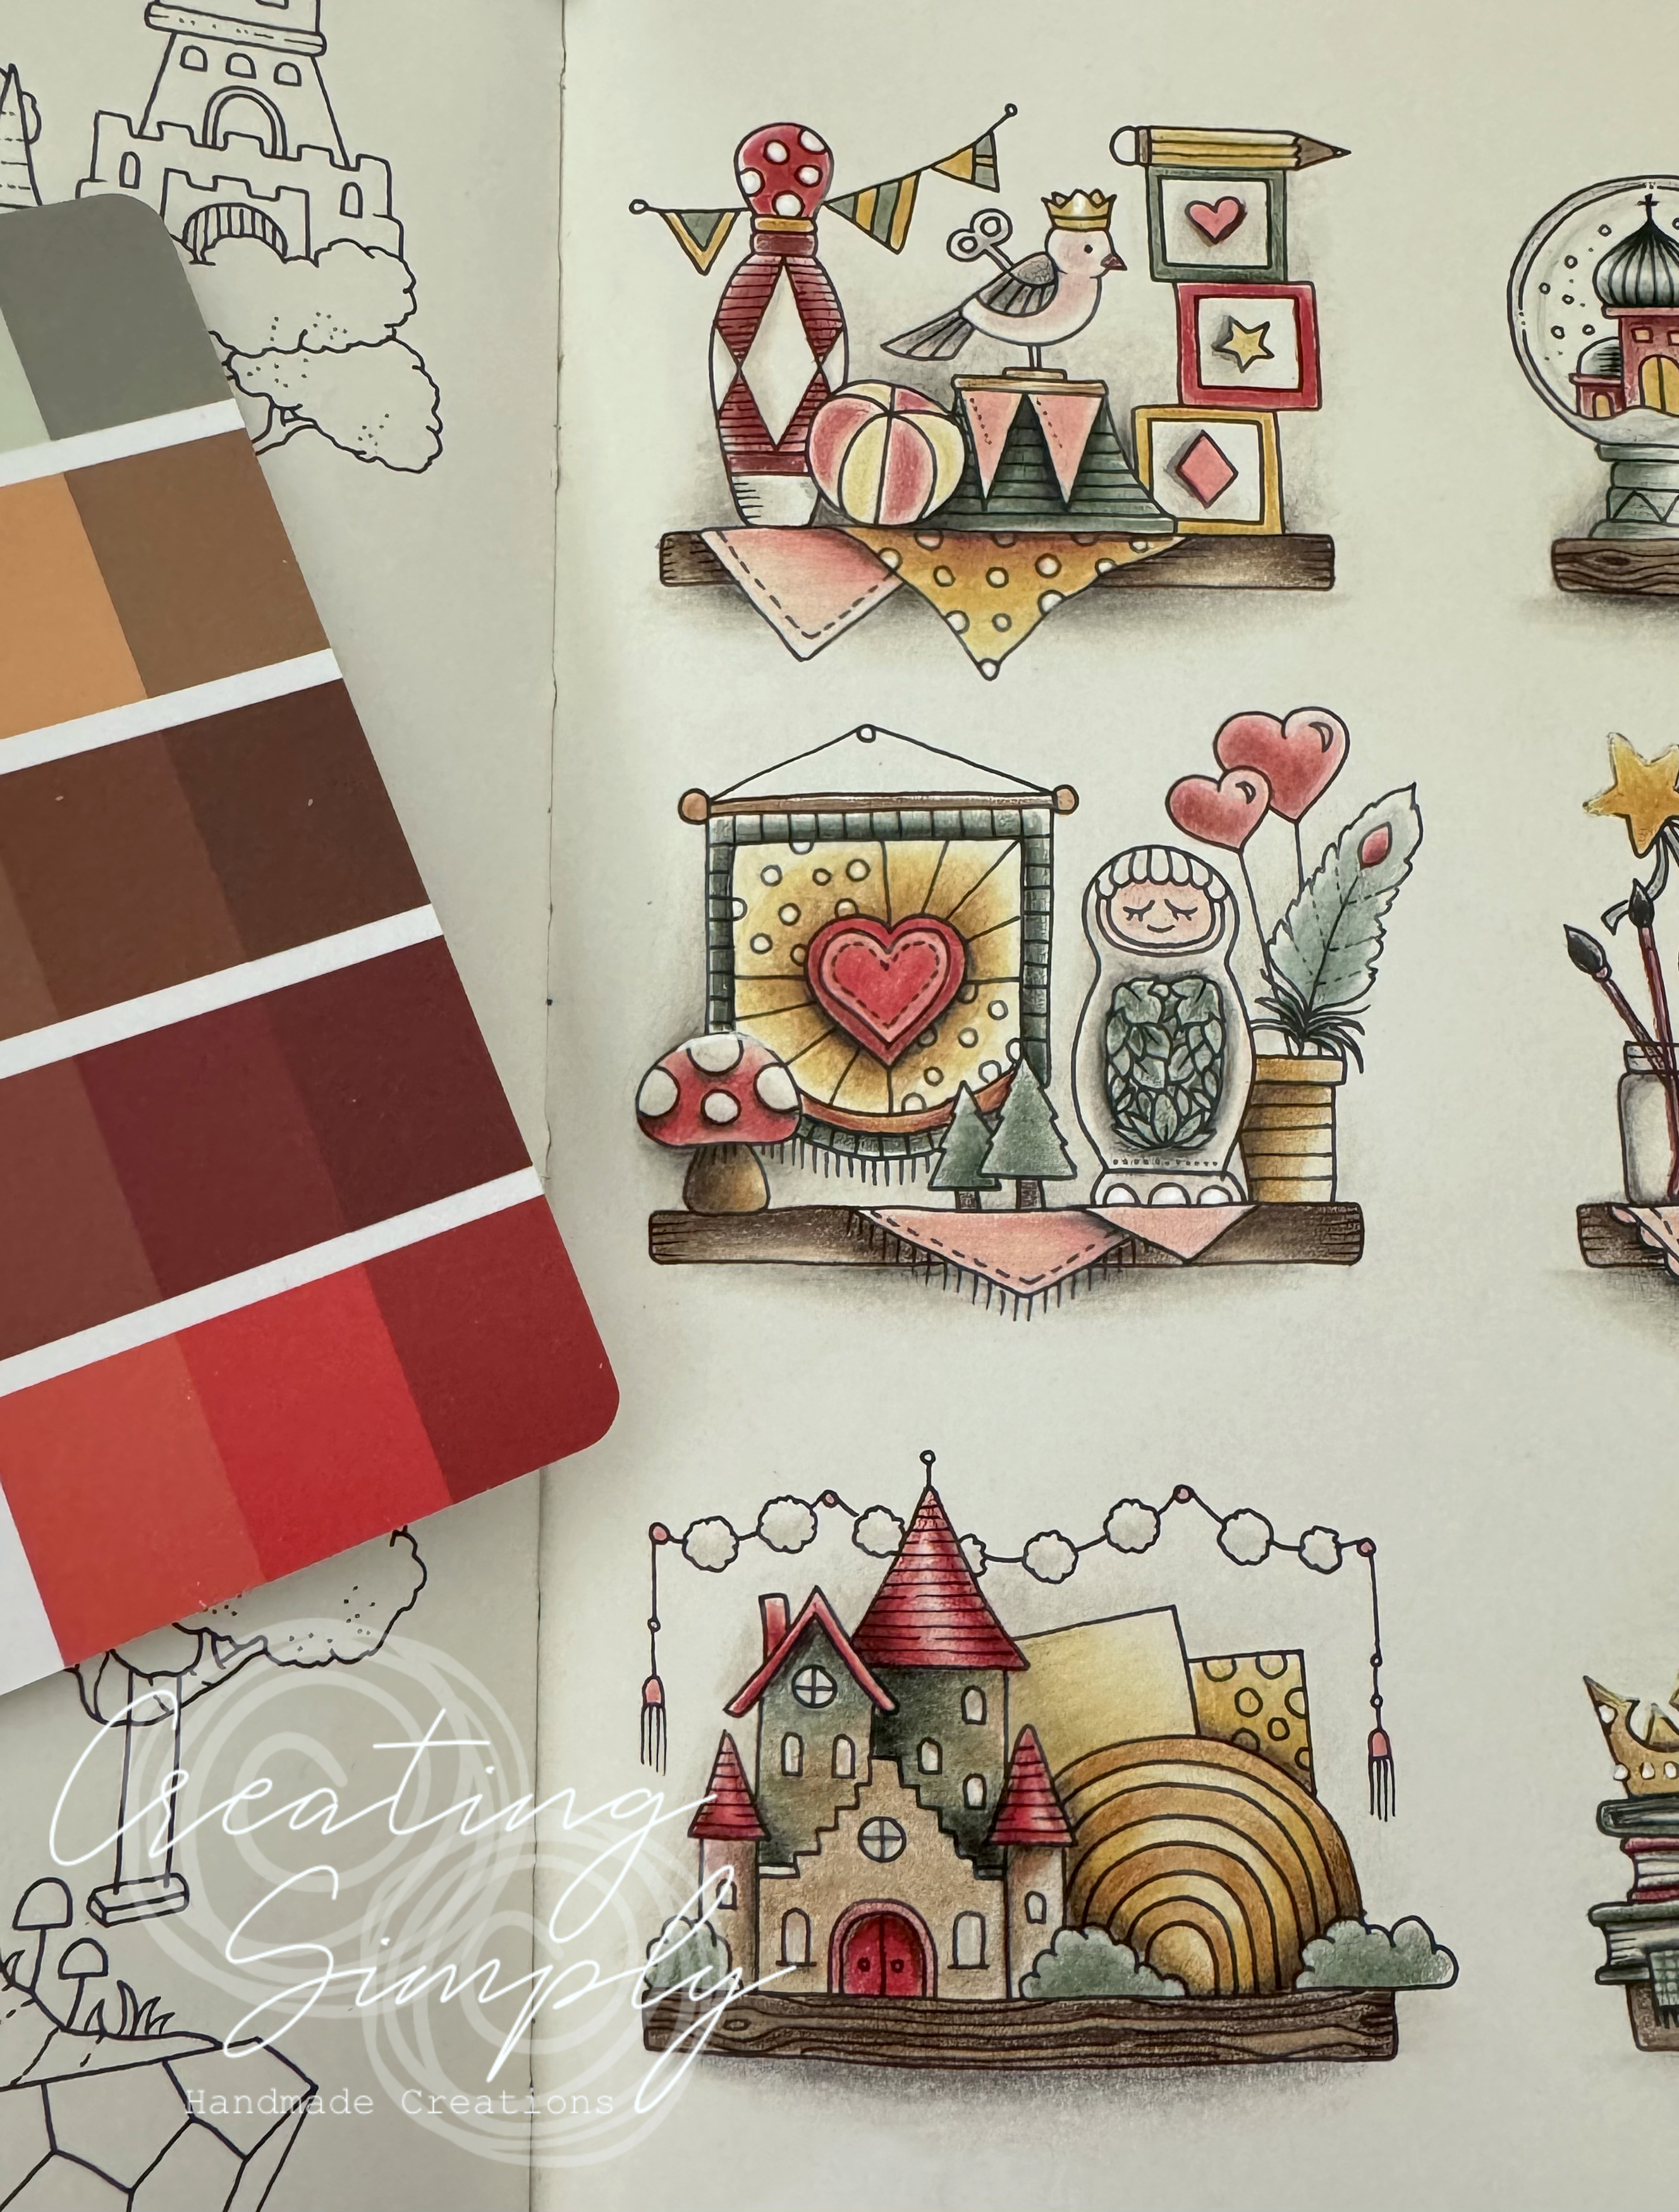
It was fun colouring this page, and hopefully I will have some more time over the next few weeks of holidays.
Smiles,
Andrea


